Quickstart
First steps with the Realm Builder Tool
Steps
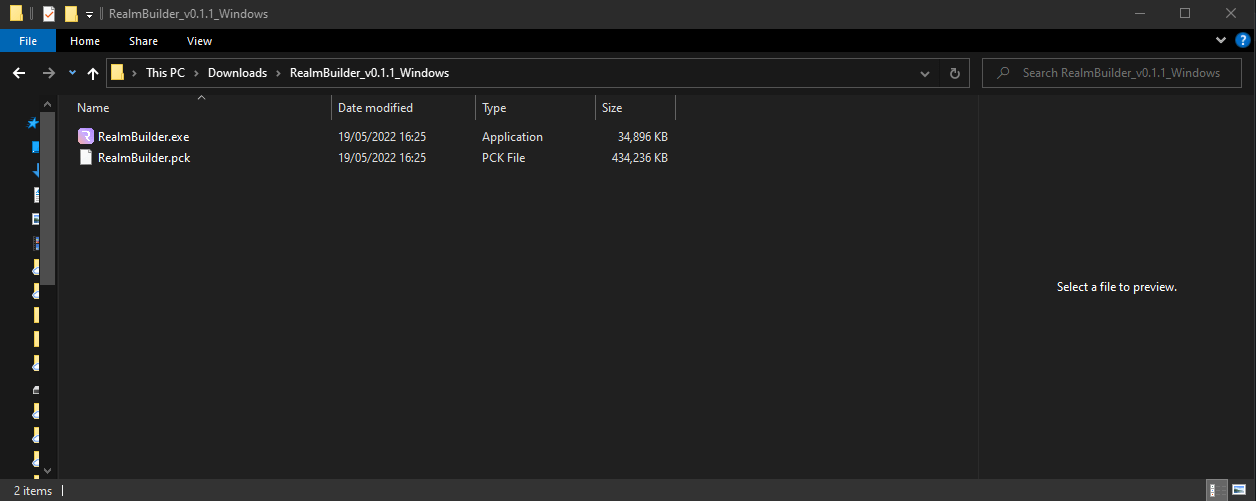
1. Download Realm Builder Tool
Download the
RealmBuilder_vX.X.X_Windows.zipfrom Itch.ioUnpack .zip file and open
RealmBuilder.exe
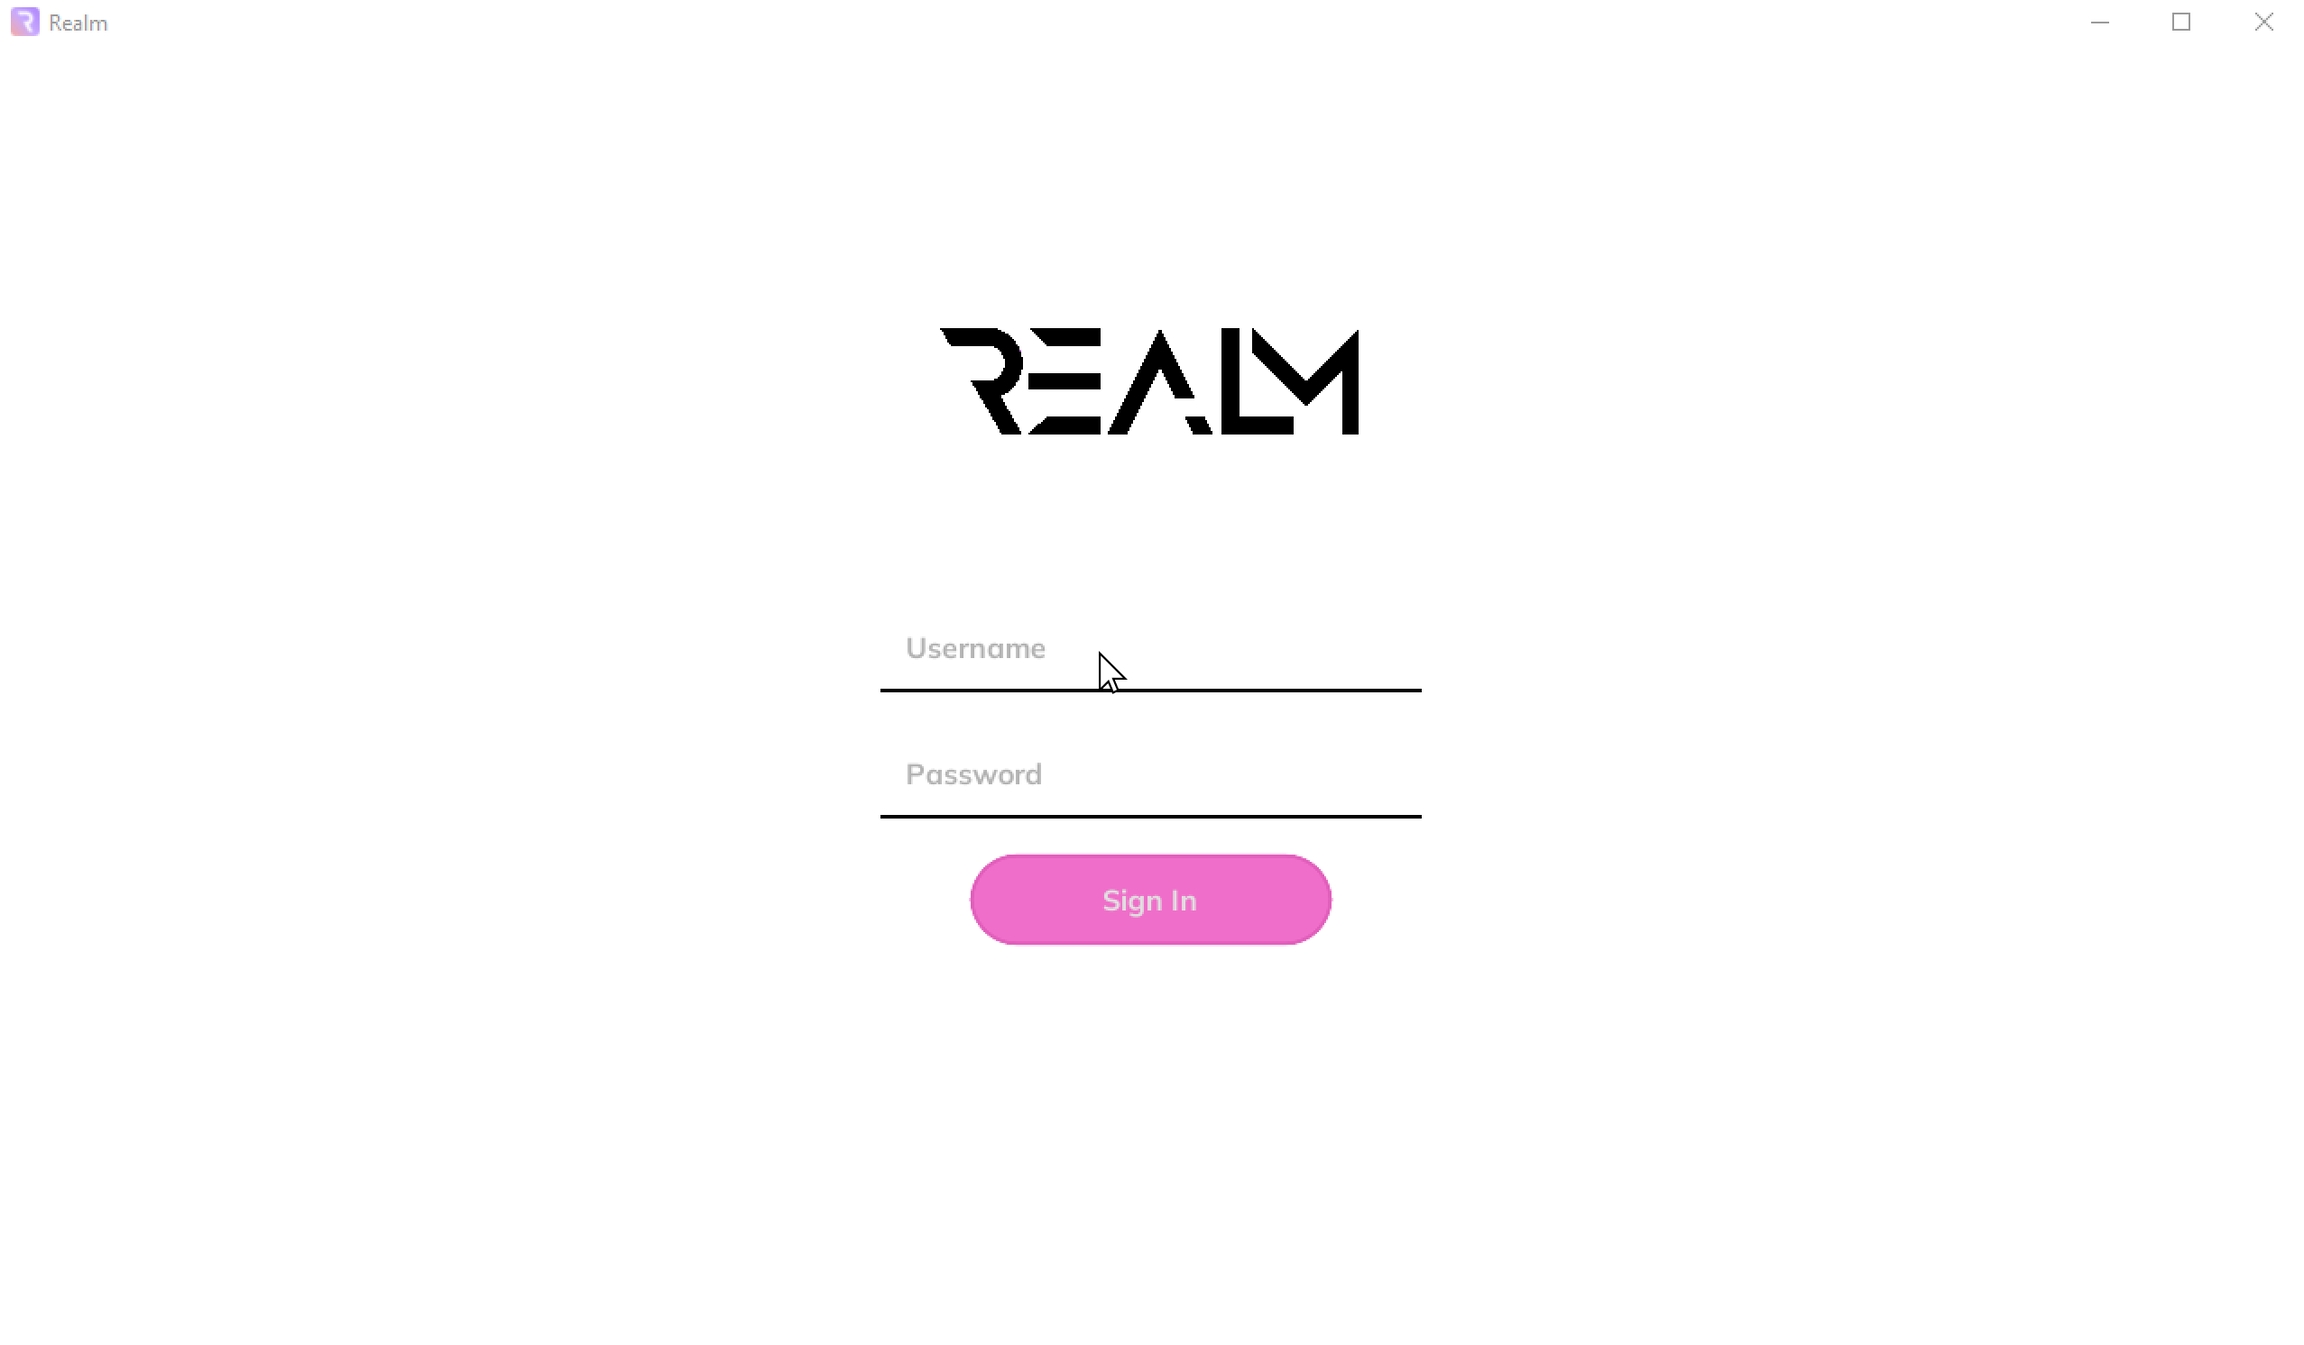
2. Login
Enter user credentials. These are the same as your Realm App login details.
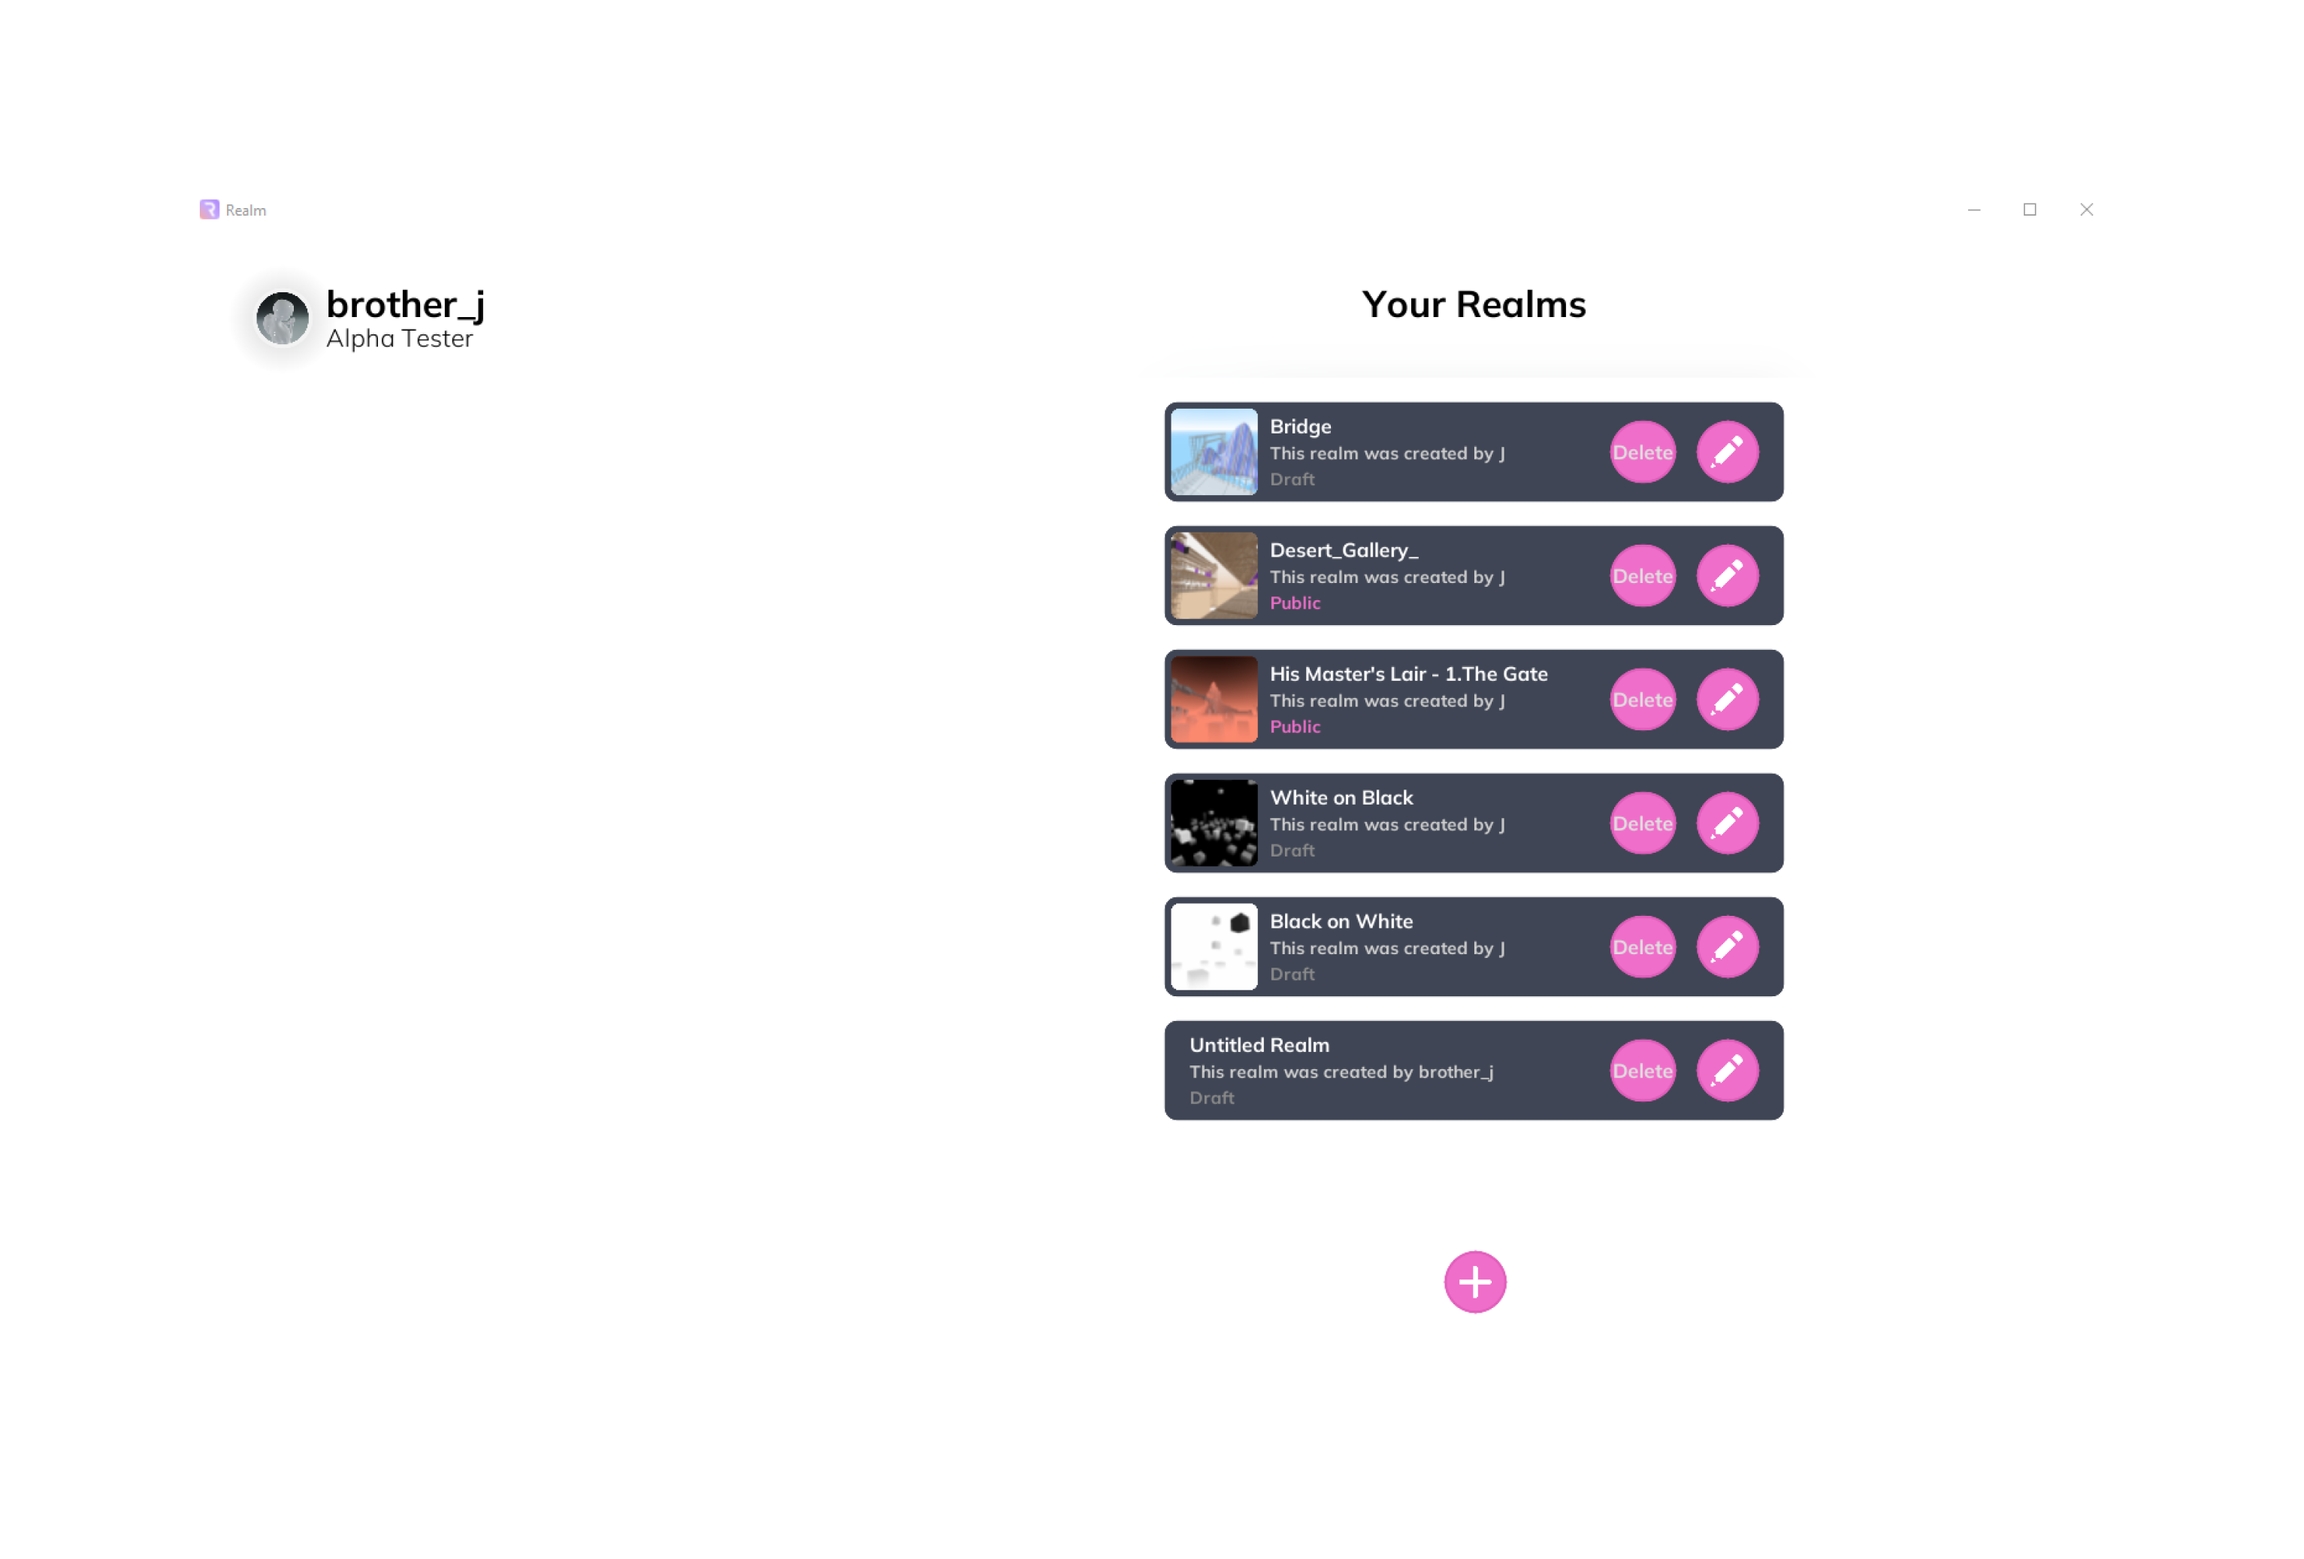
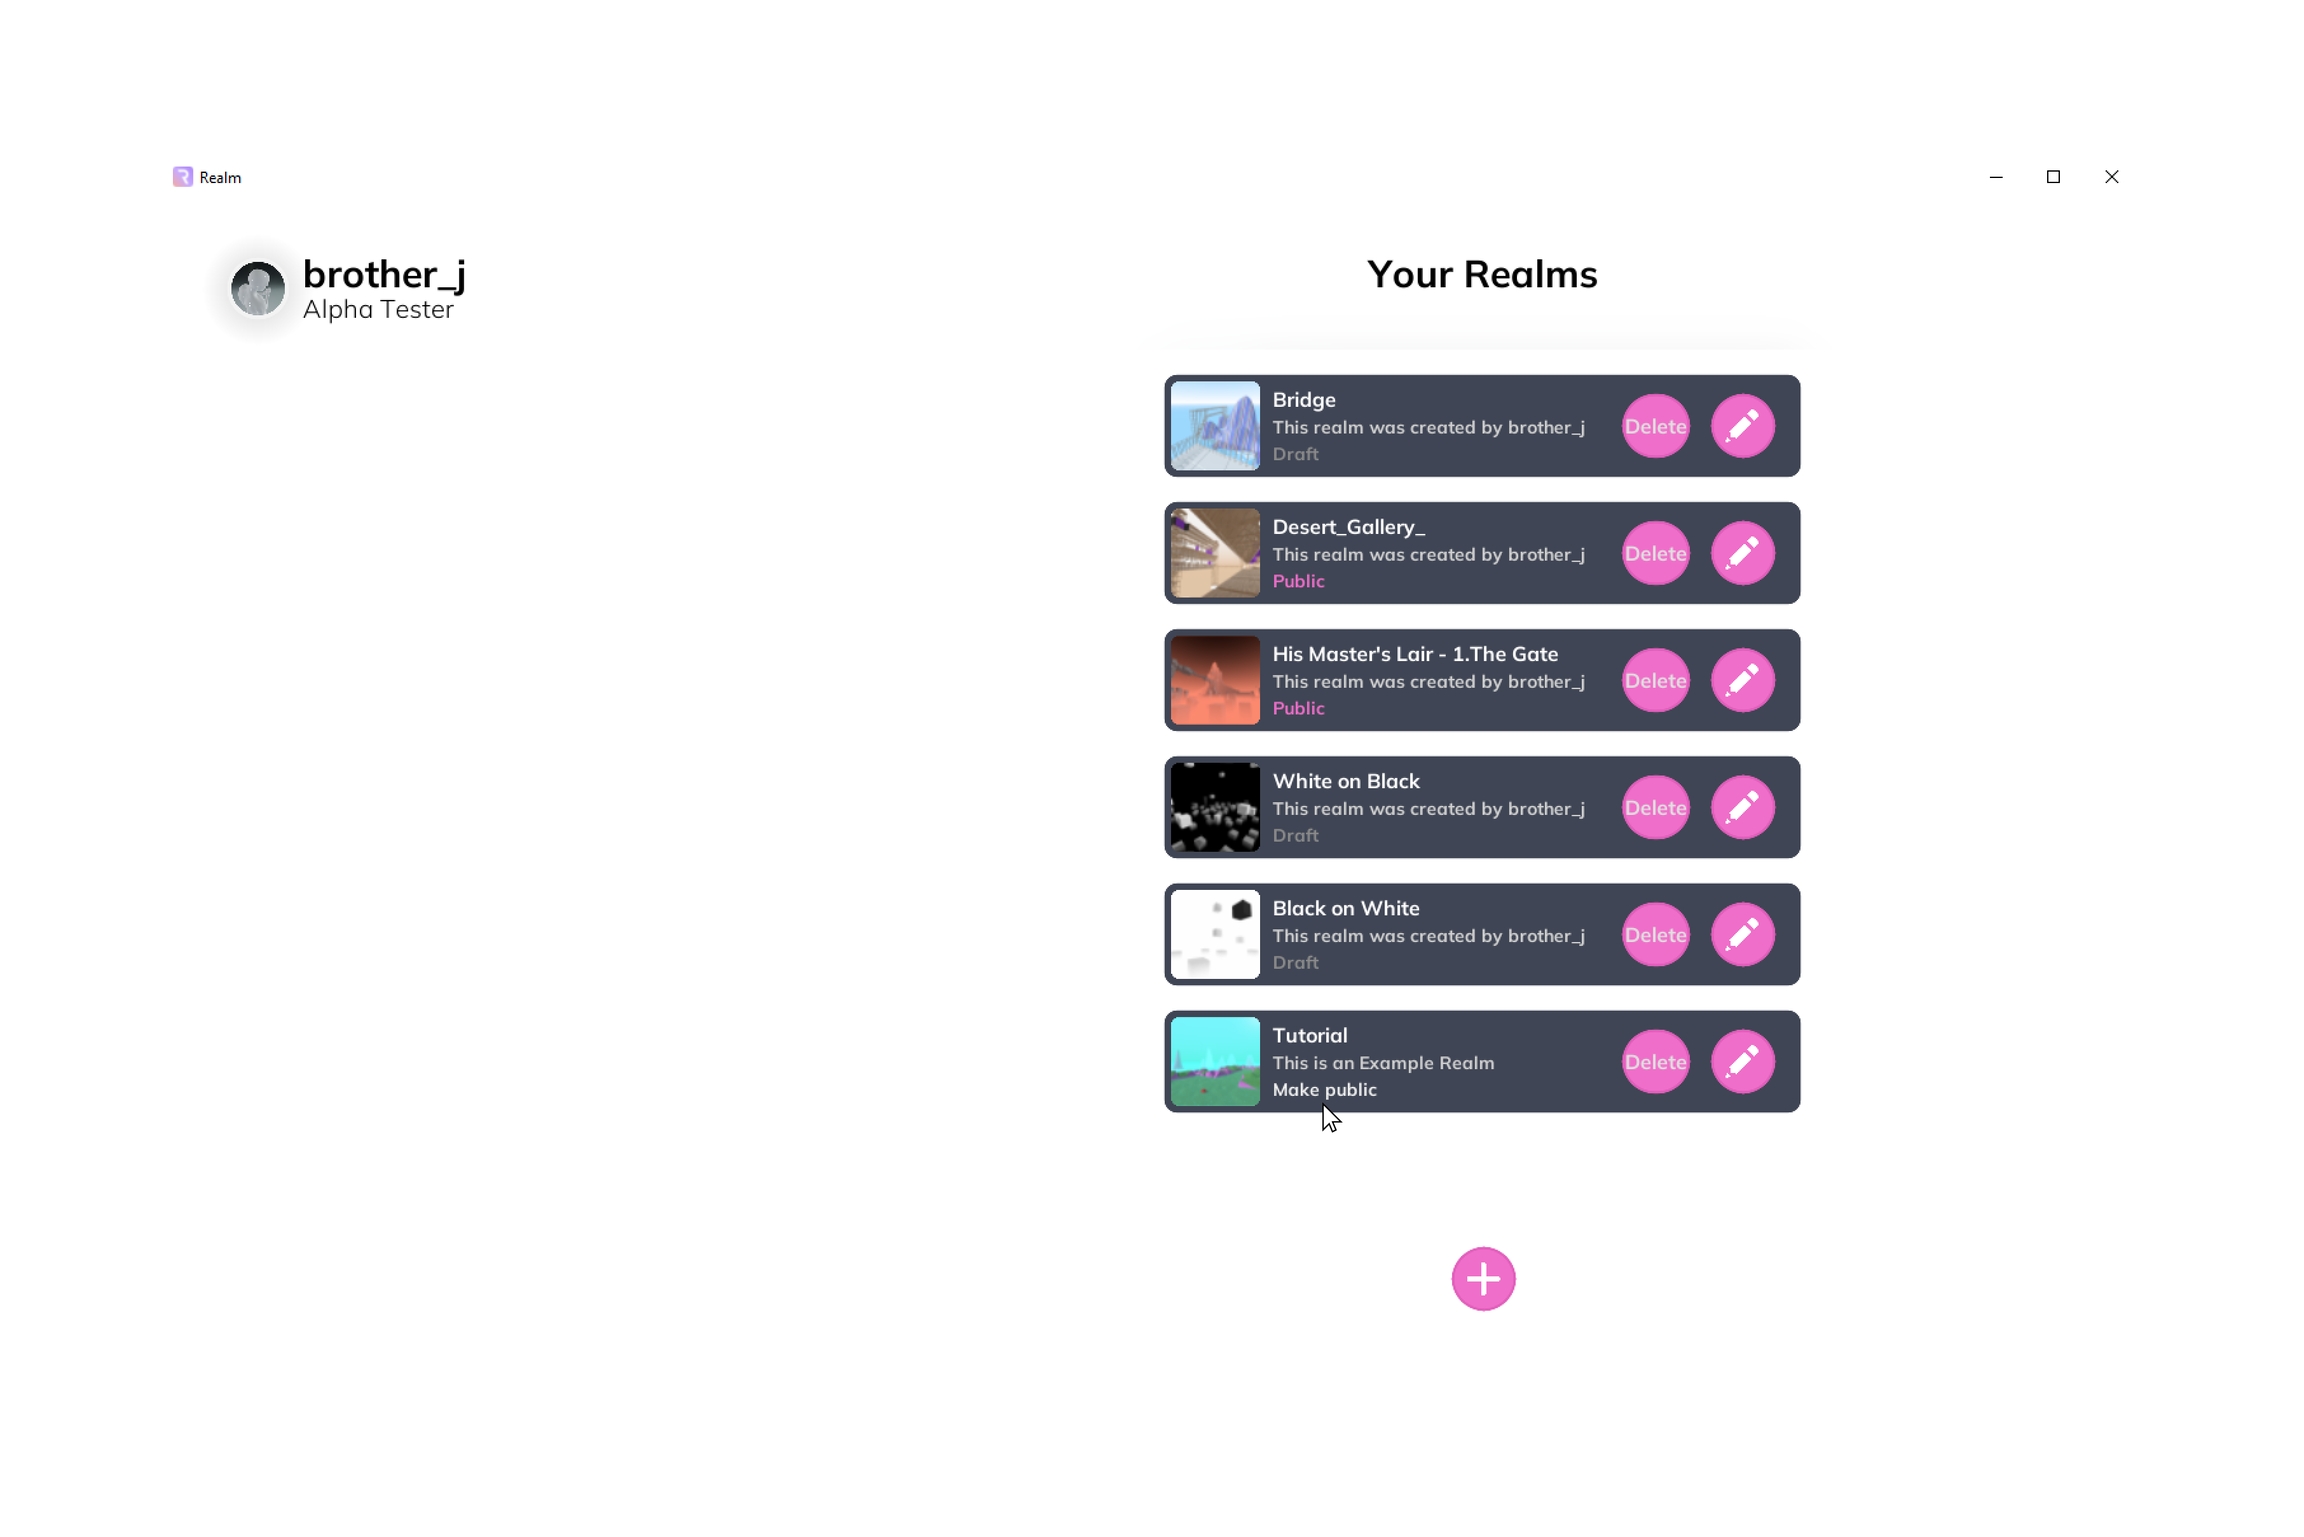
3. Realm Overview
Press the
+button to add a new empty Realm.The name and description text can be edited by clicking on it.
Click on the pencil to start building.
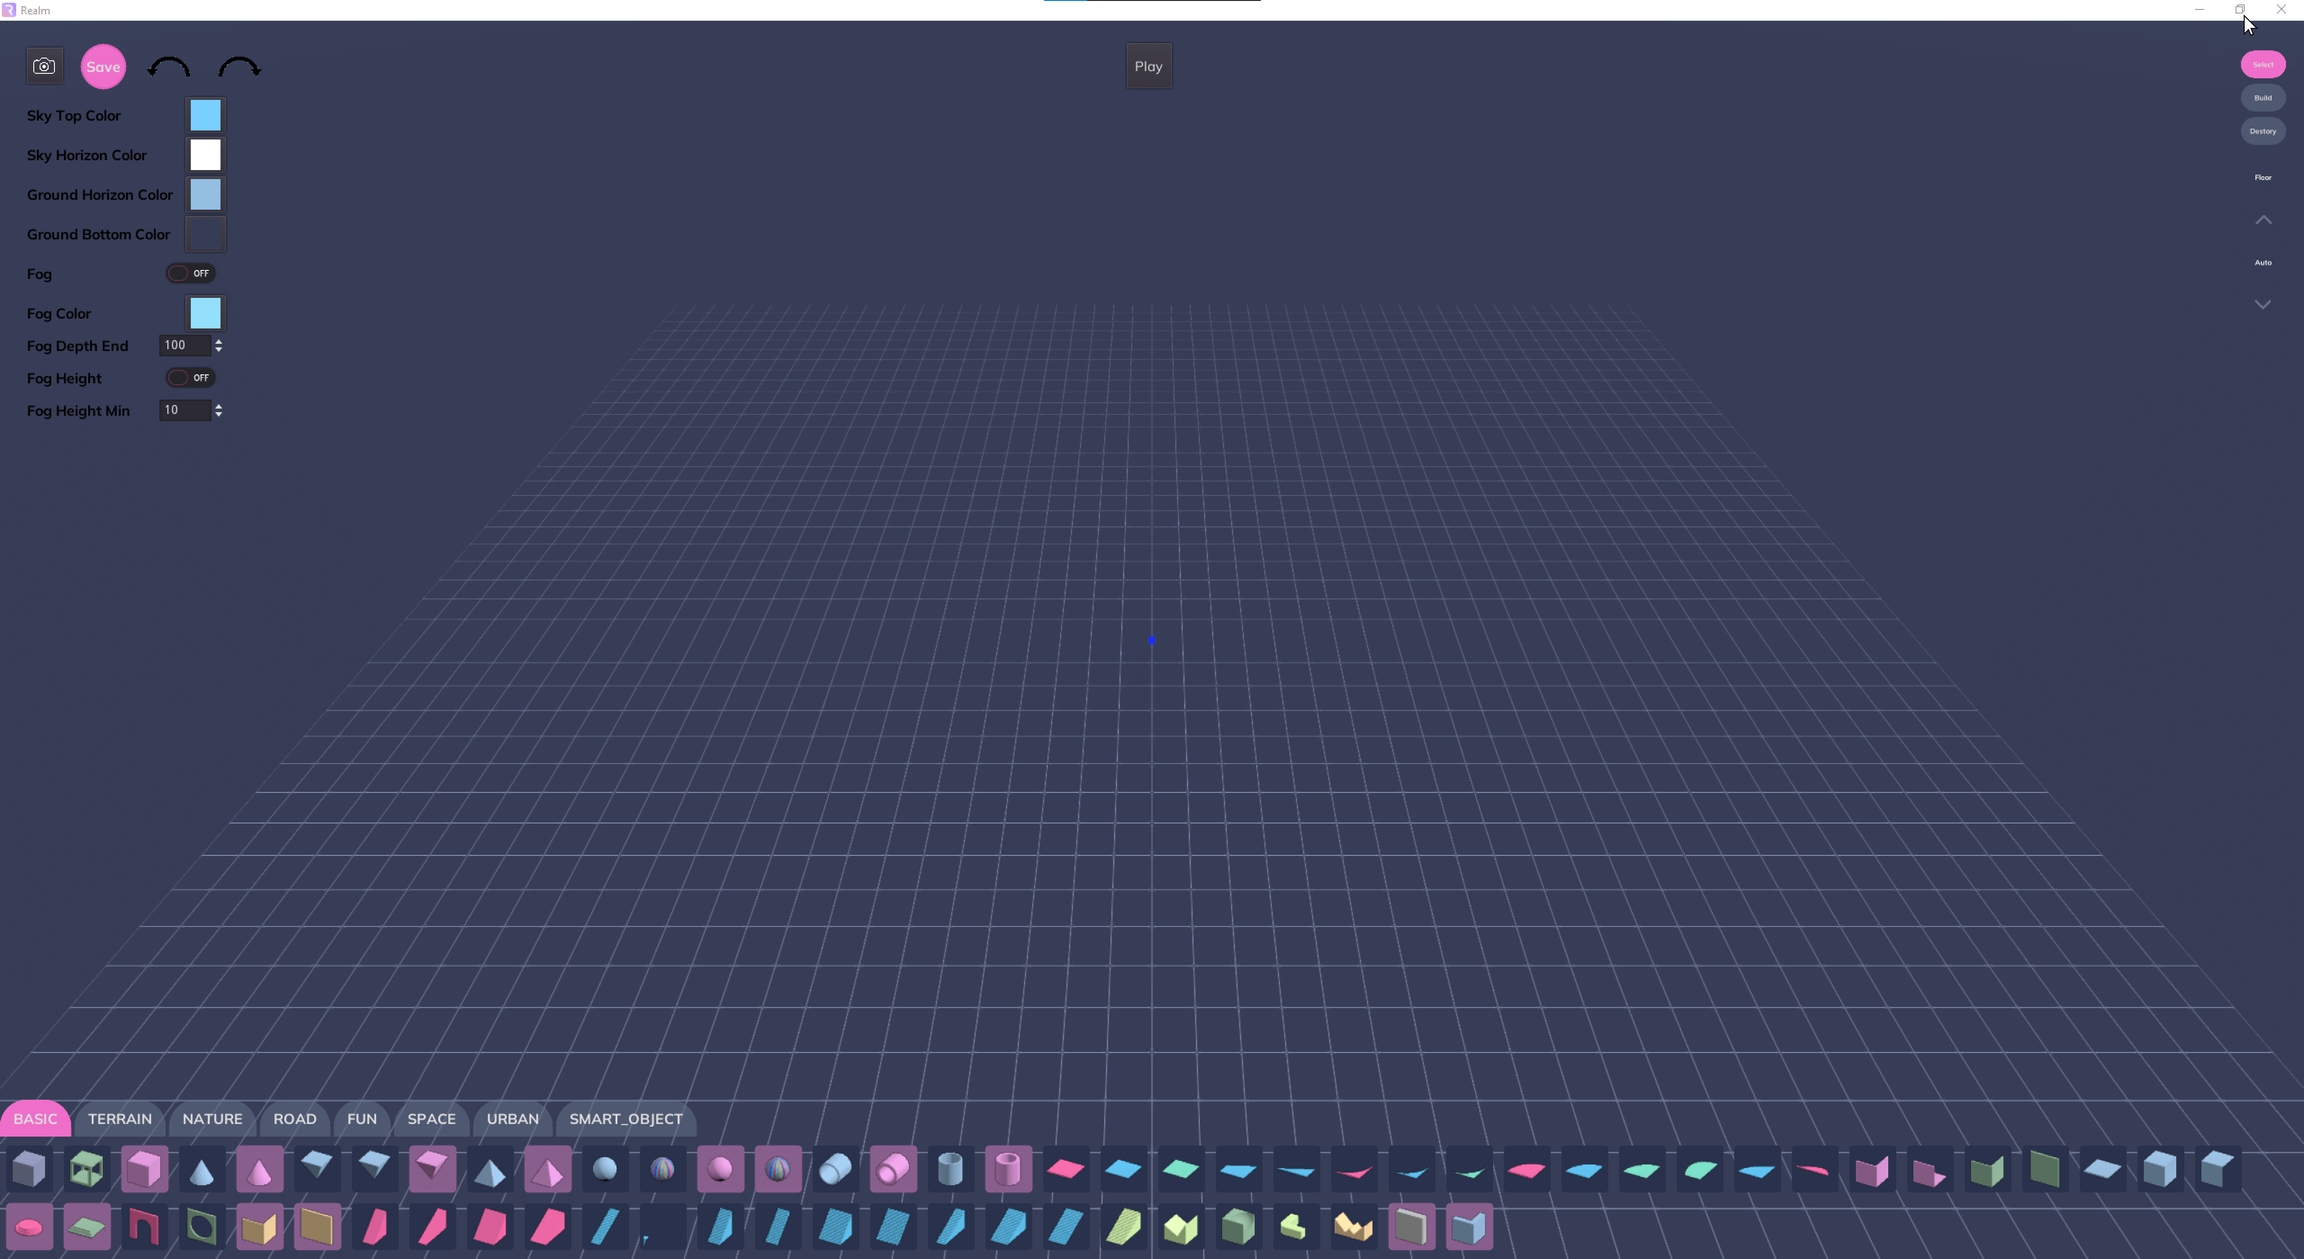
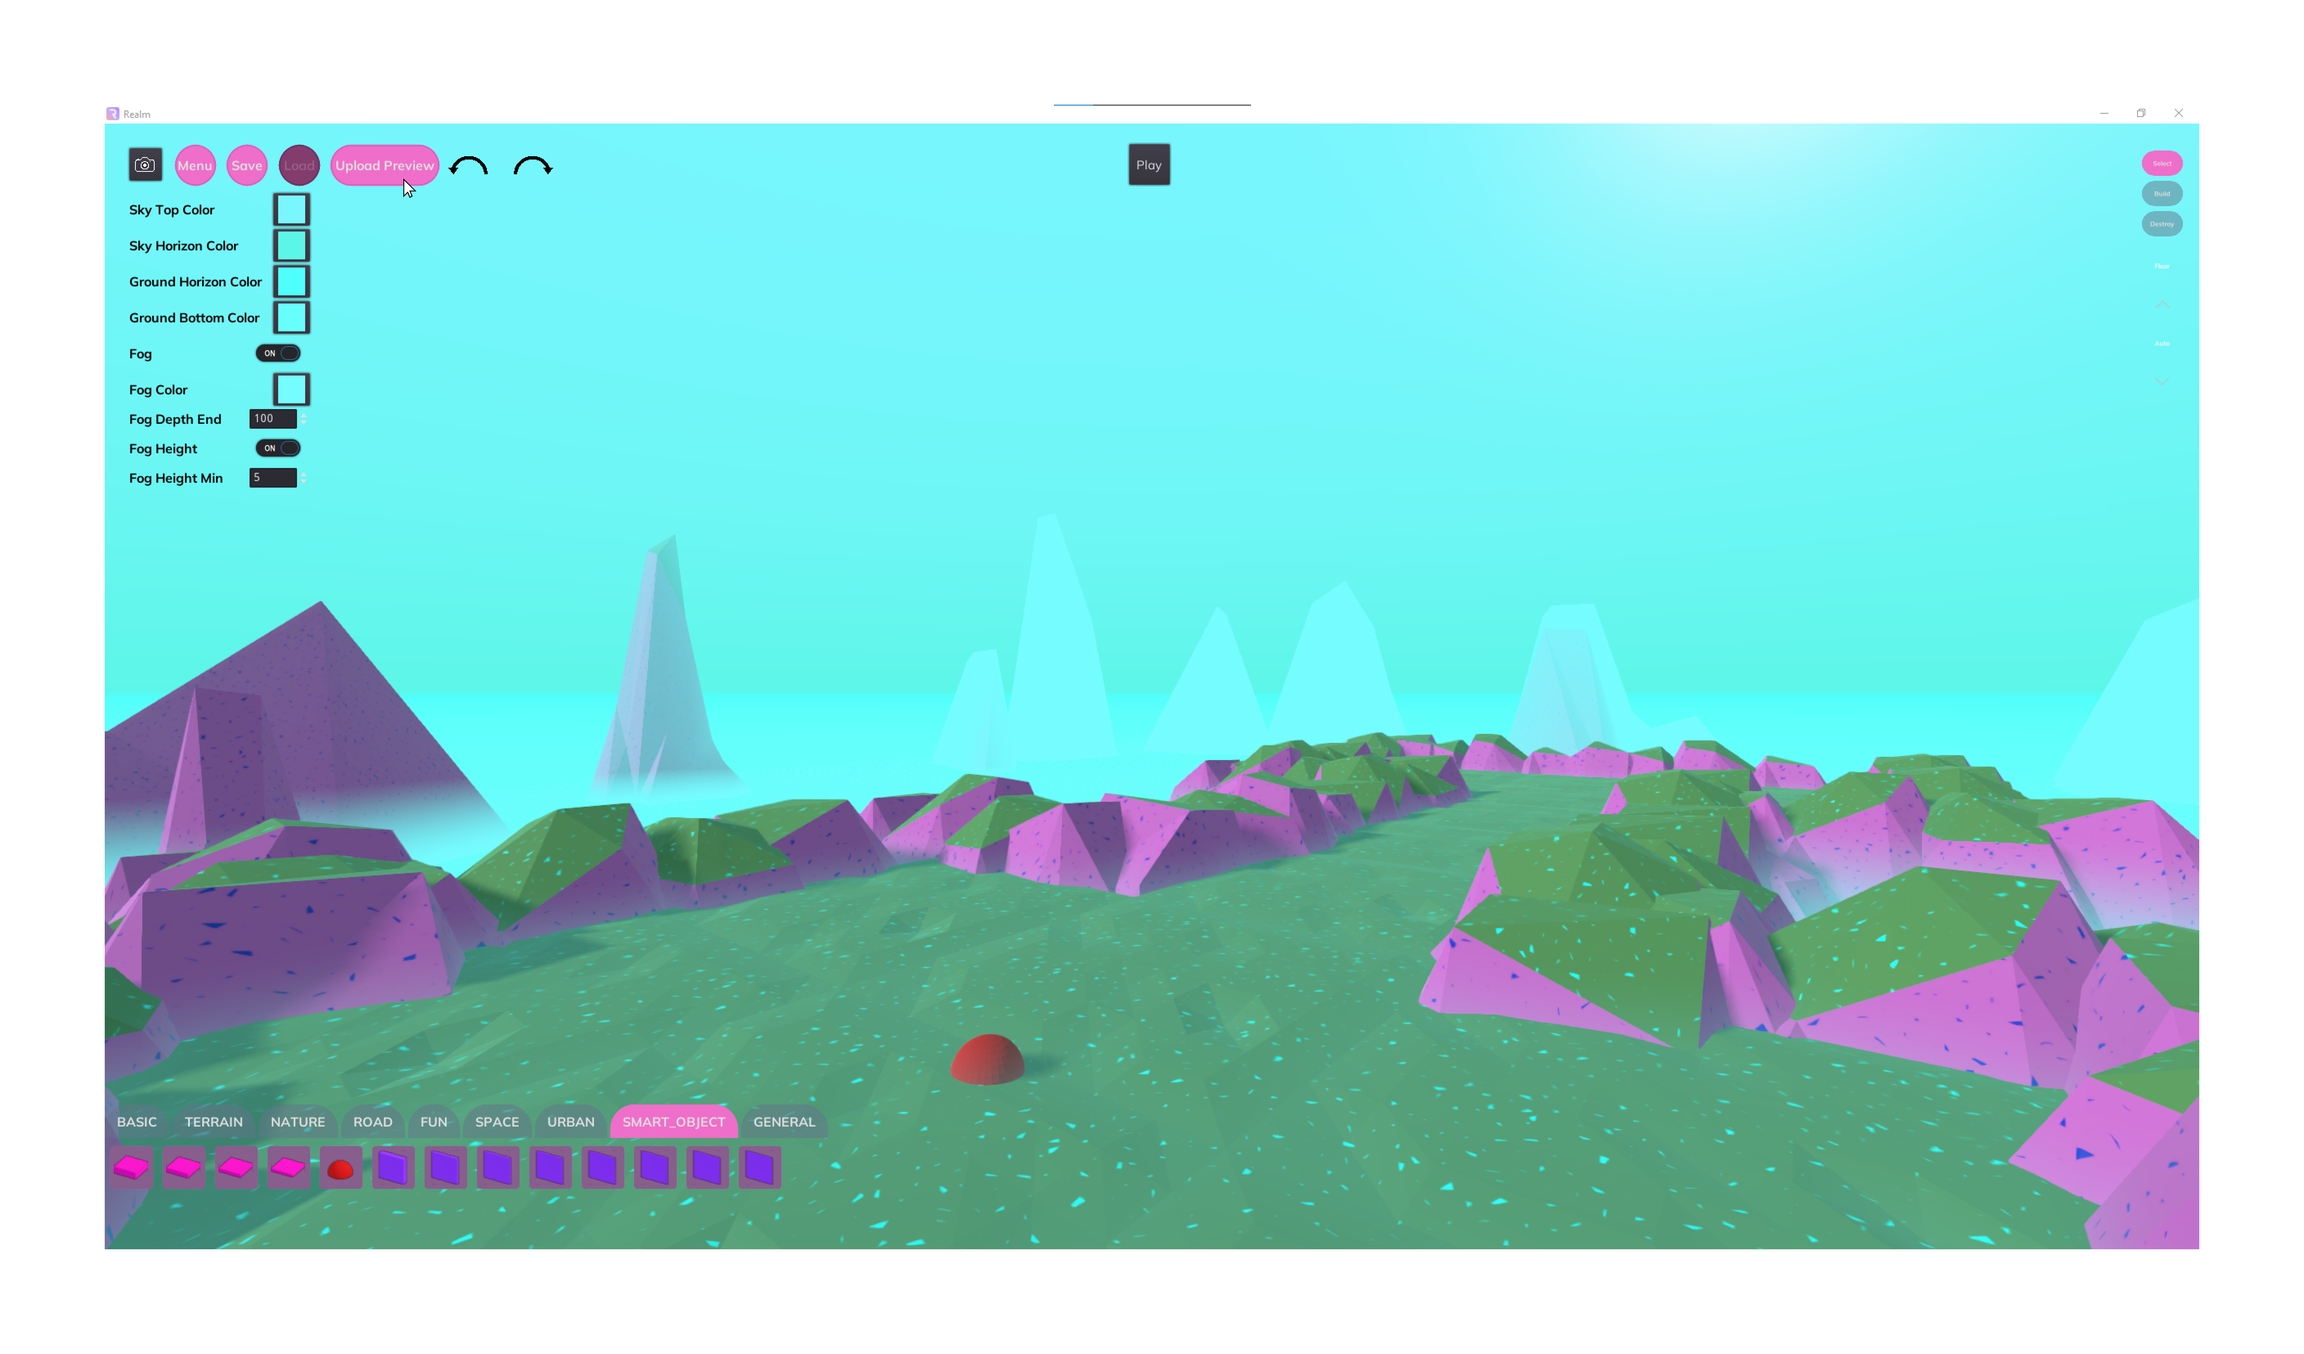
4. Editor
Please see User Interface chapter for Mac keymapping.
Resize the editor window to get more screen space if necessary.
Rotate around your point of view by pressing the right mouse button
RMBand moving your mouse.Pan by pressing the scroll-wheel/middle mouse button
MMBand moving your mouse.Scrolling will allow you zoom in and out.
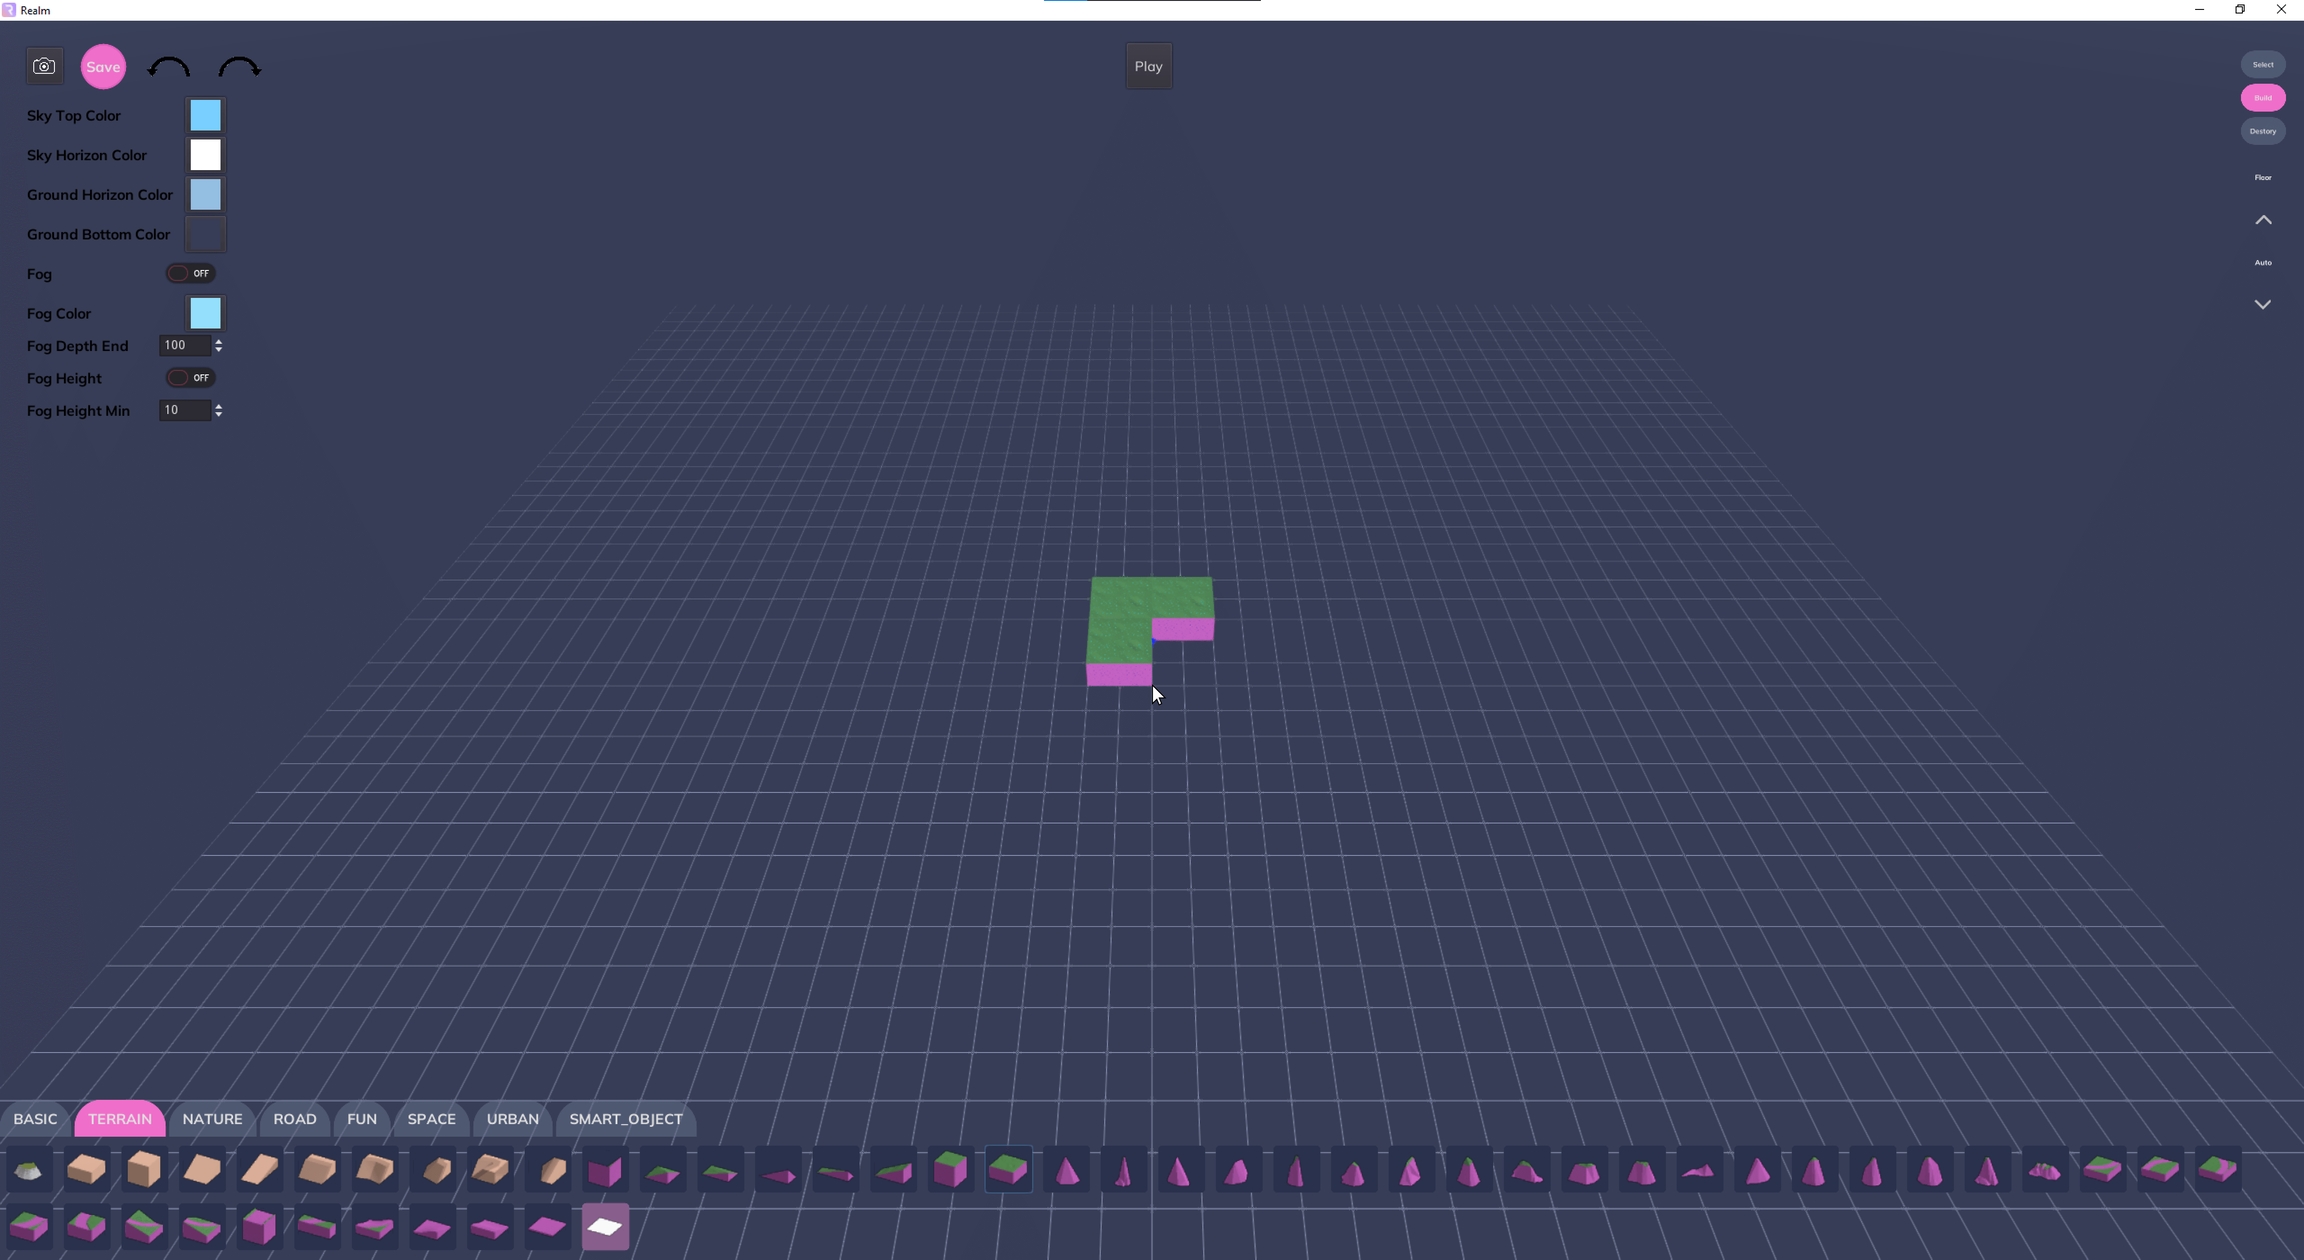
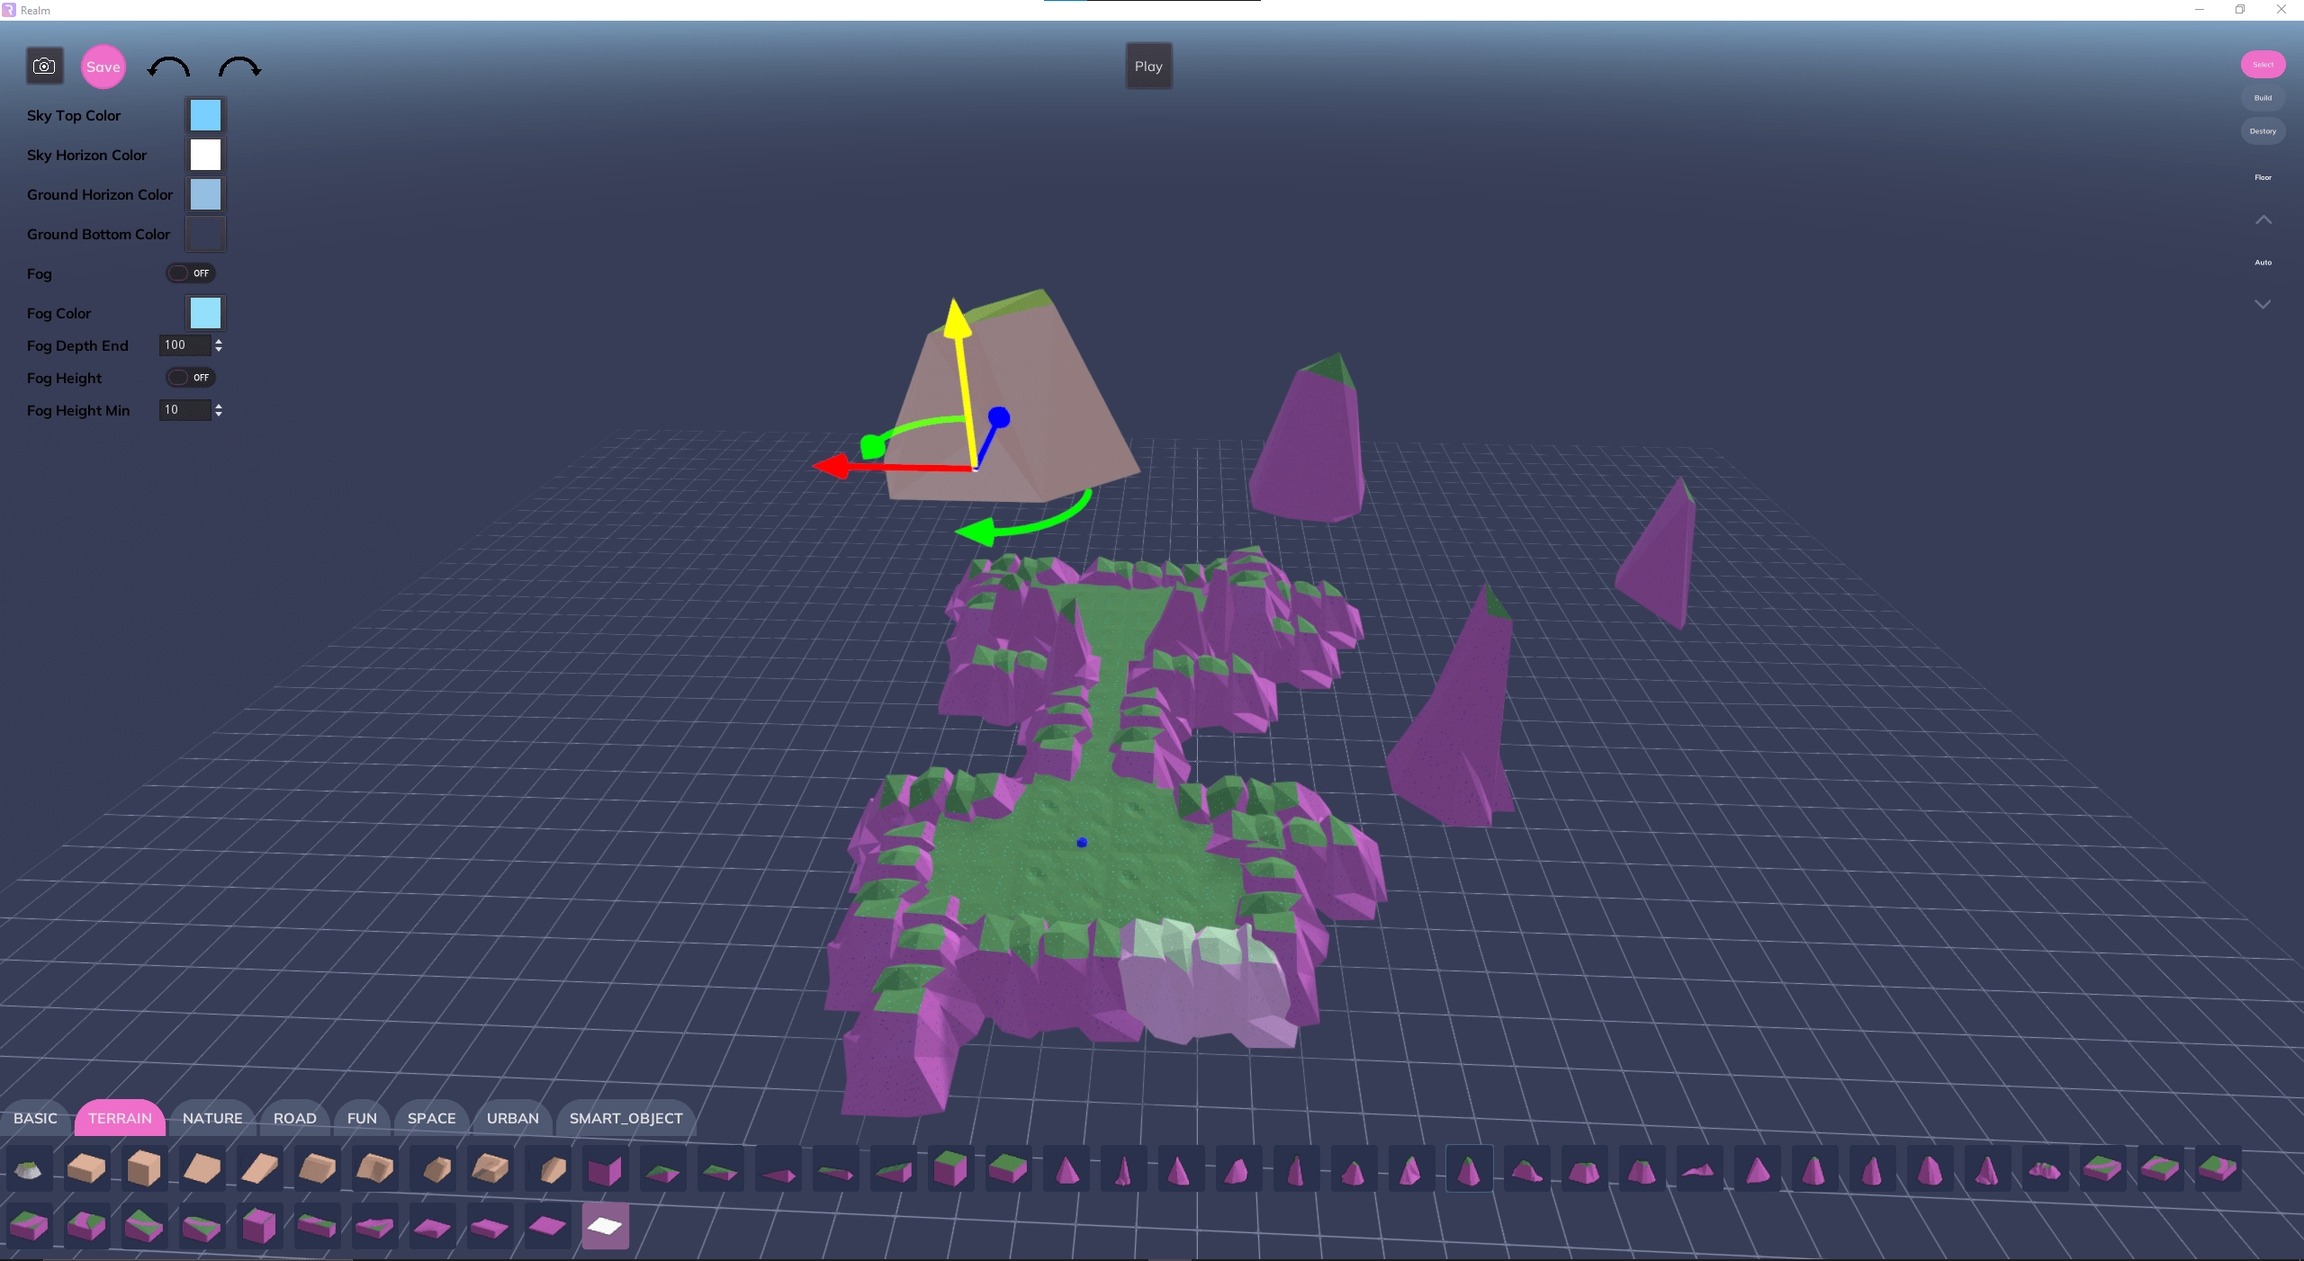
5. Base Layer
Navigate to the
Terrainsection of the inventory and start placing objects.At the beginning build up a solid flat area for your avatar to spawn.
Saveregularly - This is an early beta version of the builder tool and can crash at times.
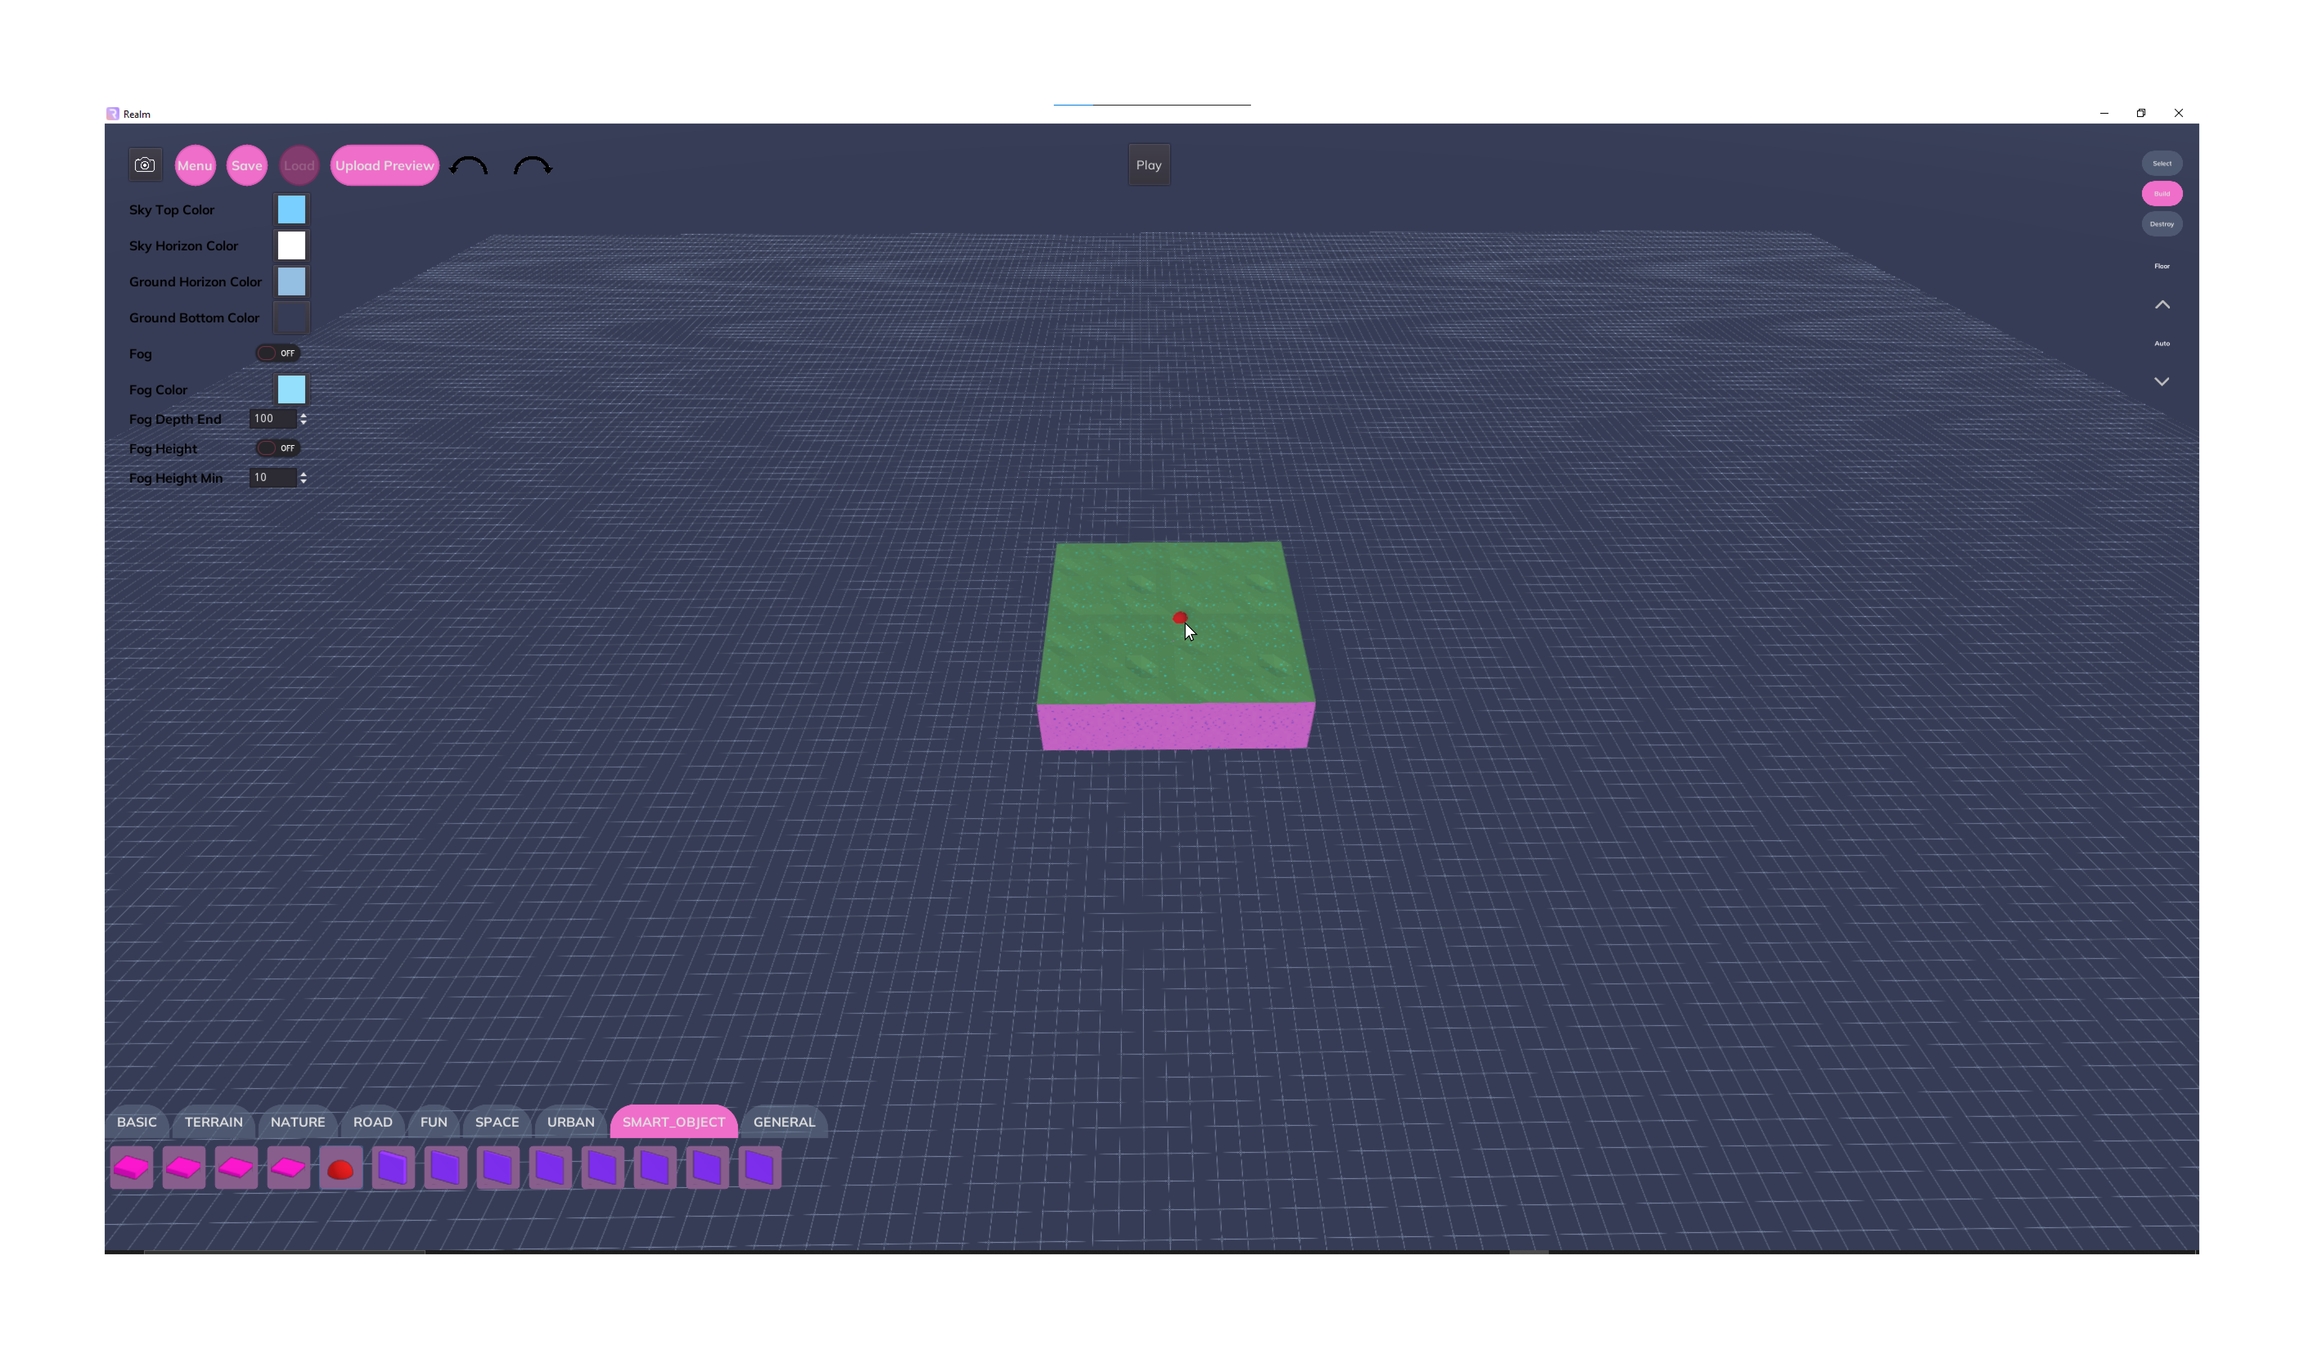
6. Spawn Point
The spawn point for players can be placed like any other module.
The spawn point module is located in the
smart objectcategory.
7. Building
Use
,and.keys to rotate objects before placing them.Auto-placement is great for building up areas quickly.
Additional control can be gained by manually locking the vertical
Floorheight by pressing up/down arrows on the right-hand side of the user interface or by pressingCtrl+Scroll.Some objects can overlap in particular irregular/natural shapes. If this is not possible then the module will be highlighted in red.
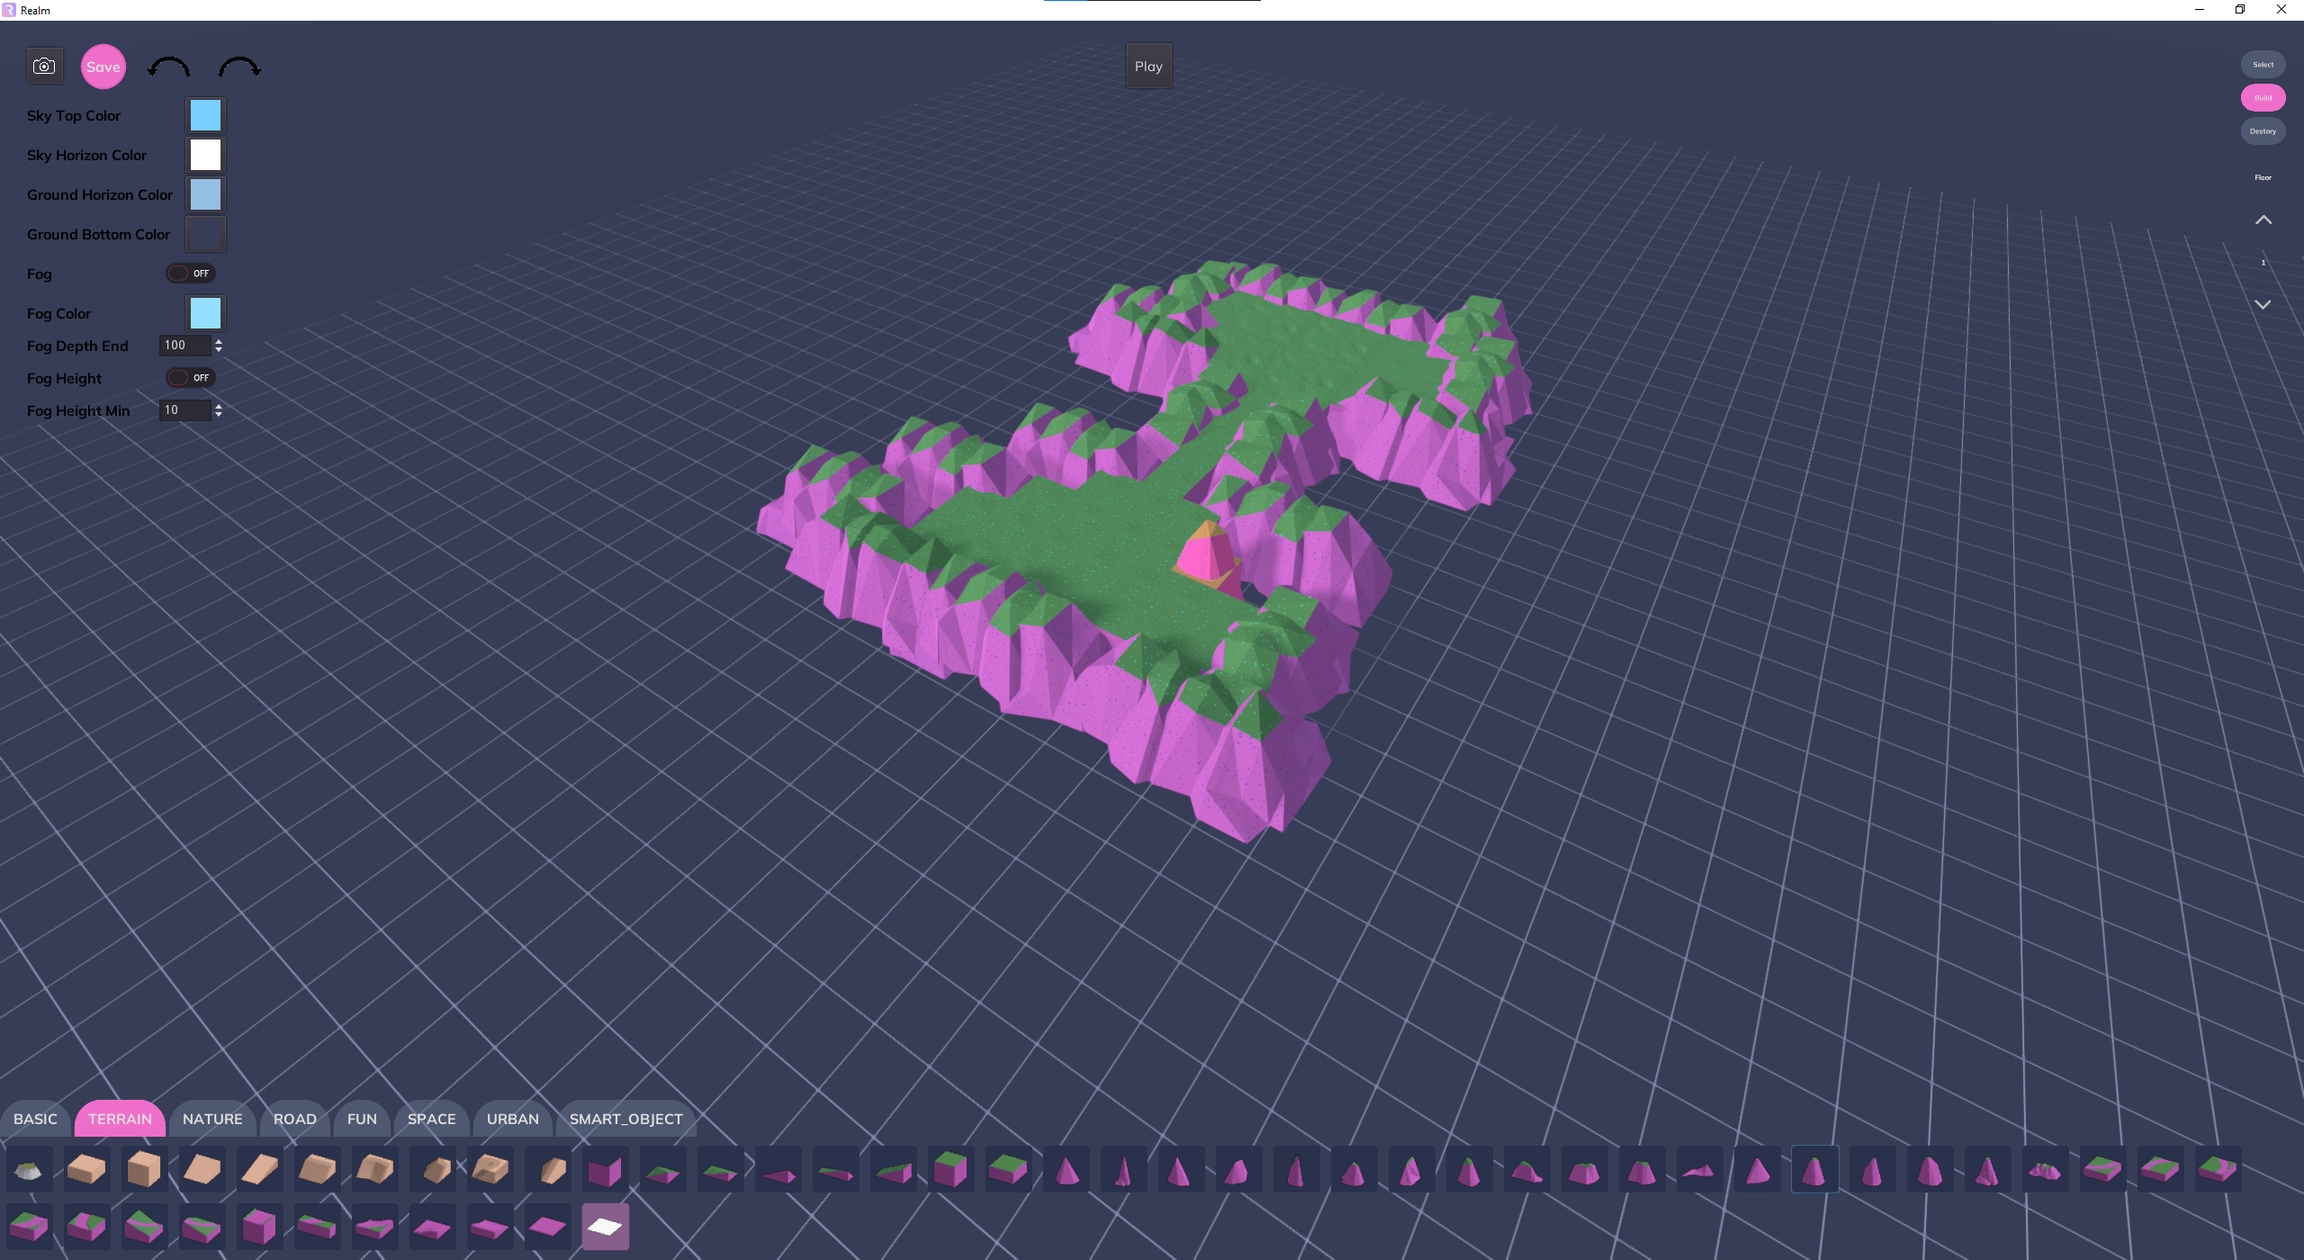
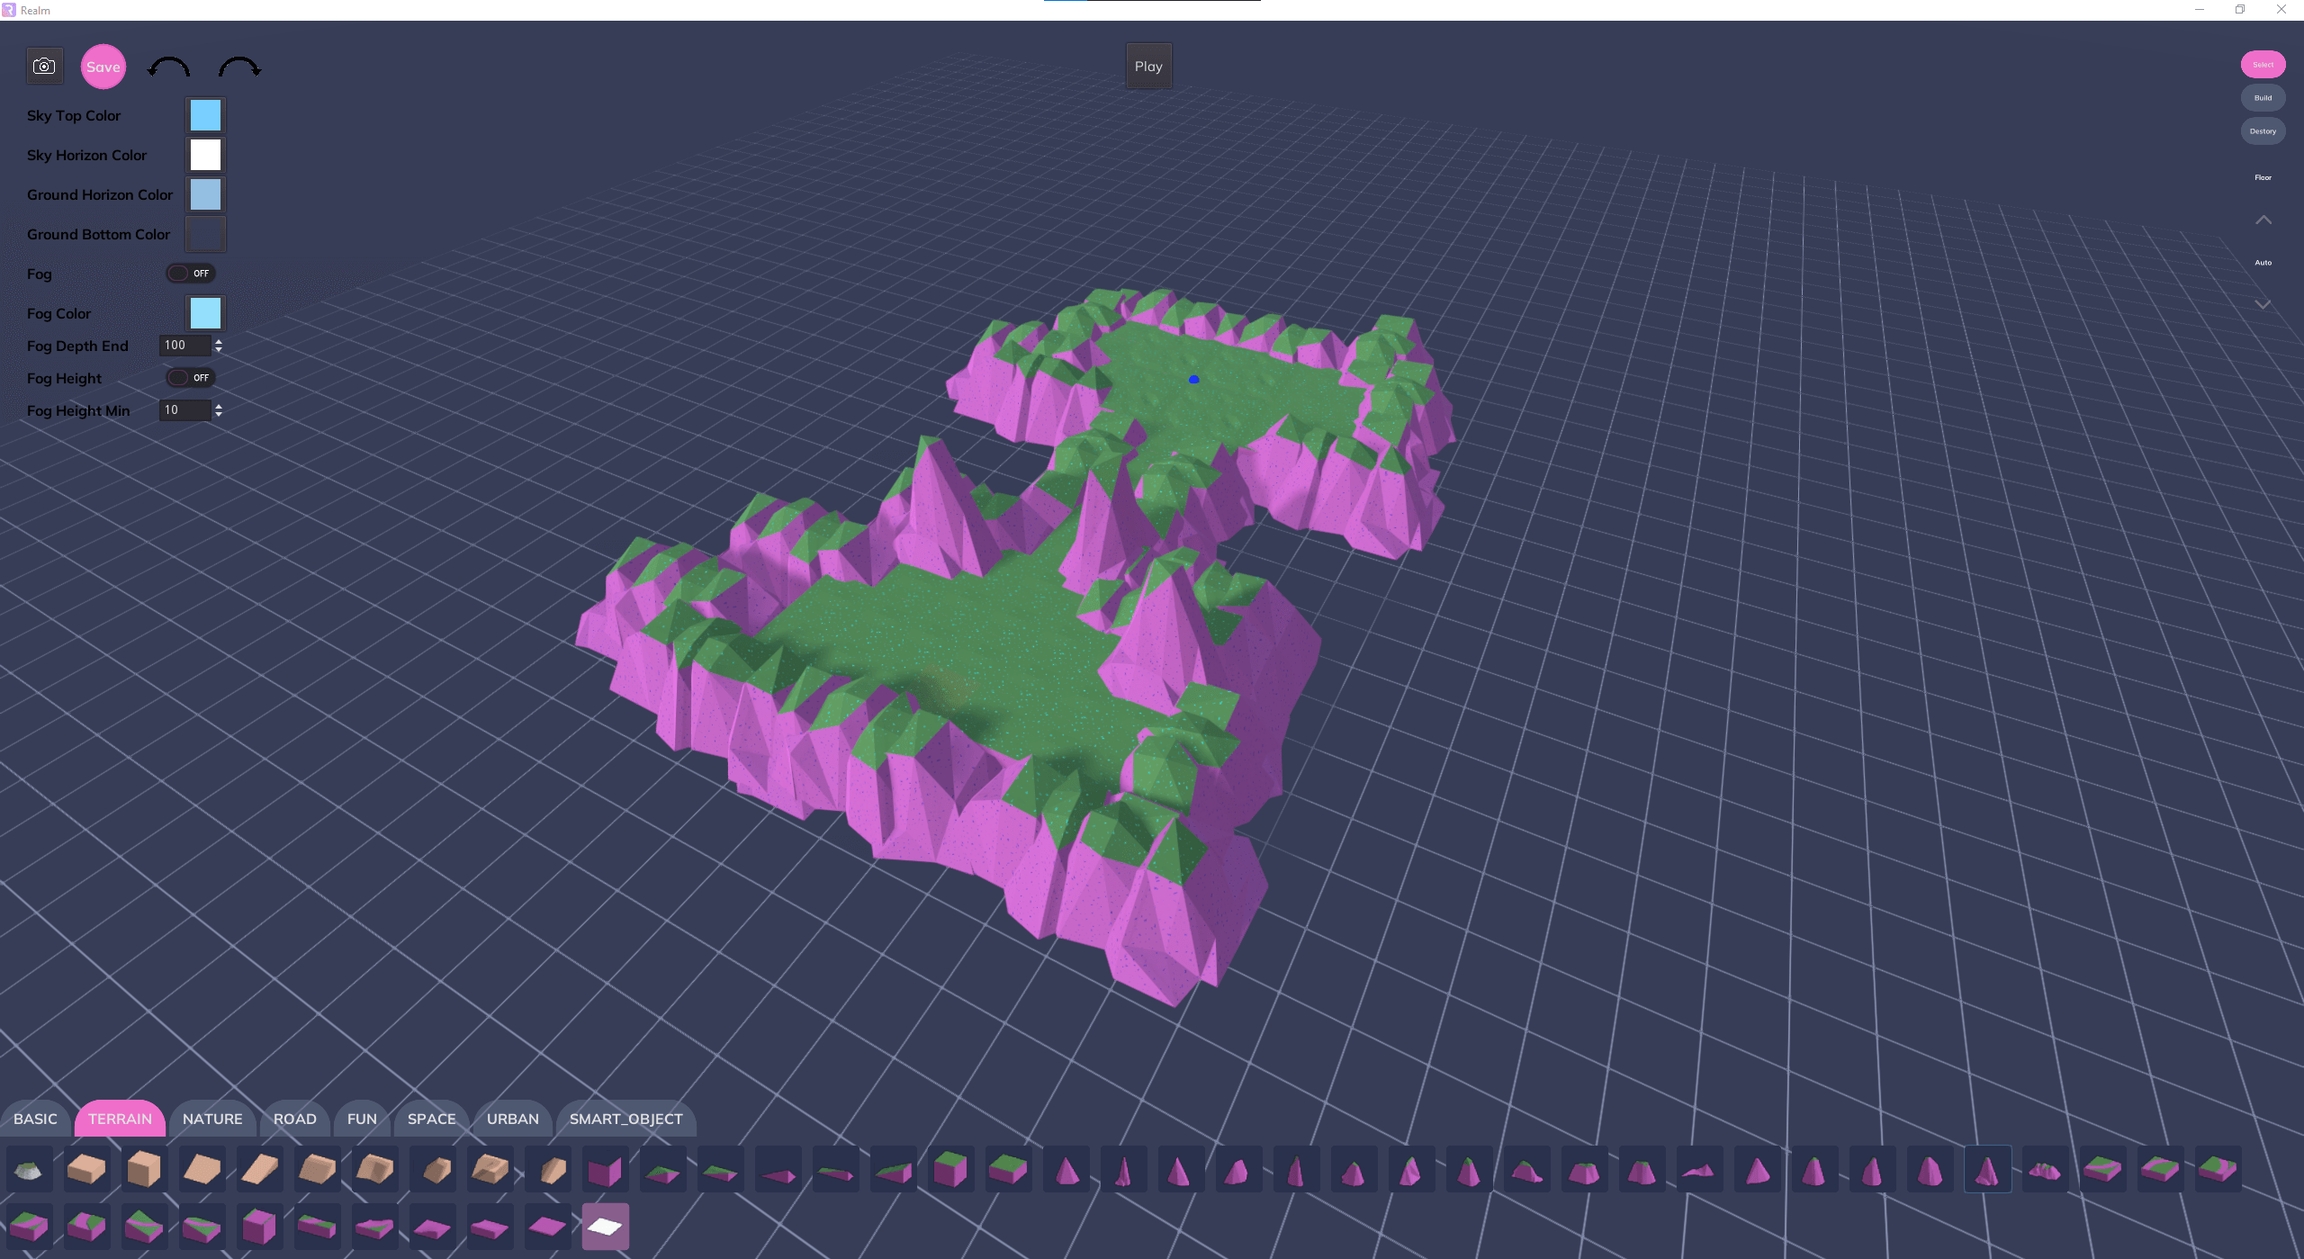
8. Background + Edit
Build a backdrop to the scene by placing larger objects around it.
Enter
Selectmode to move or rotate already placed objects.LMBon any module and drag the gizmo arrow to move it along a particular axis or click the curved arrow to rotate clockwise/anti-clockwise.
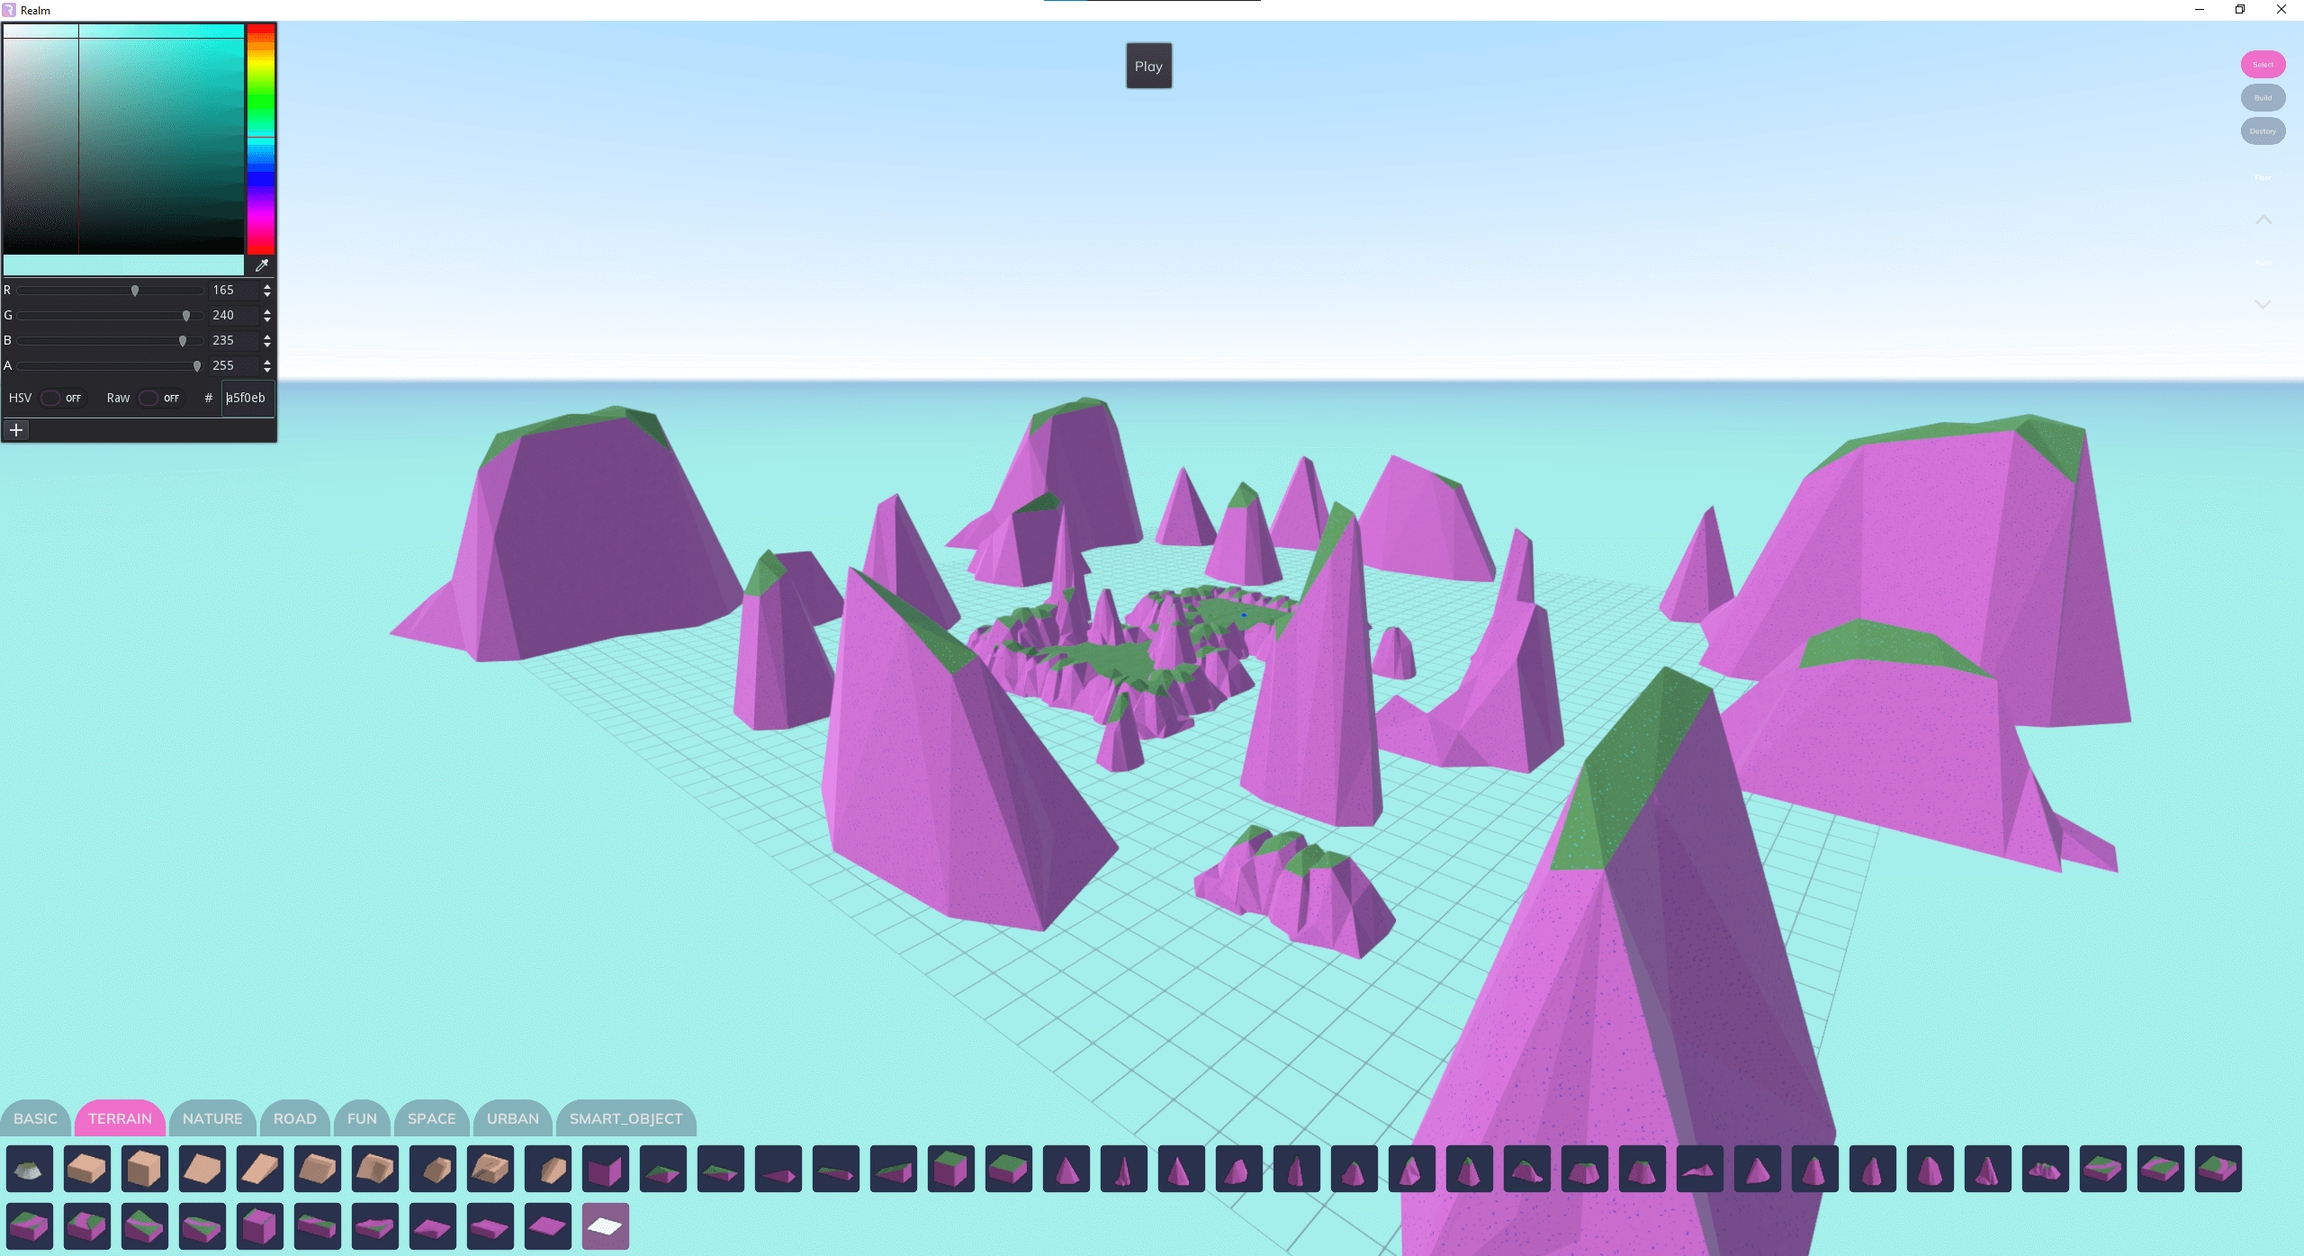
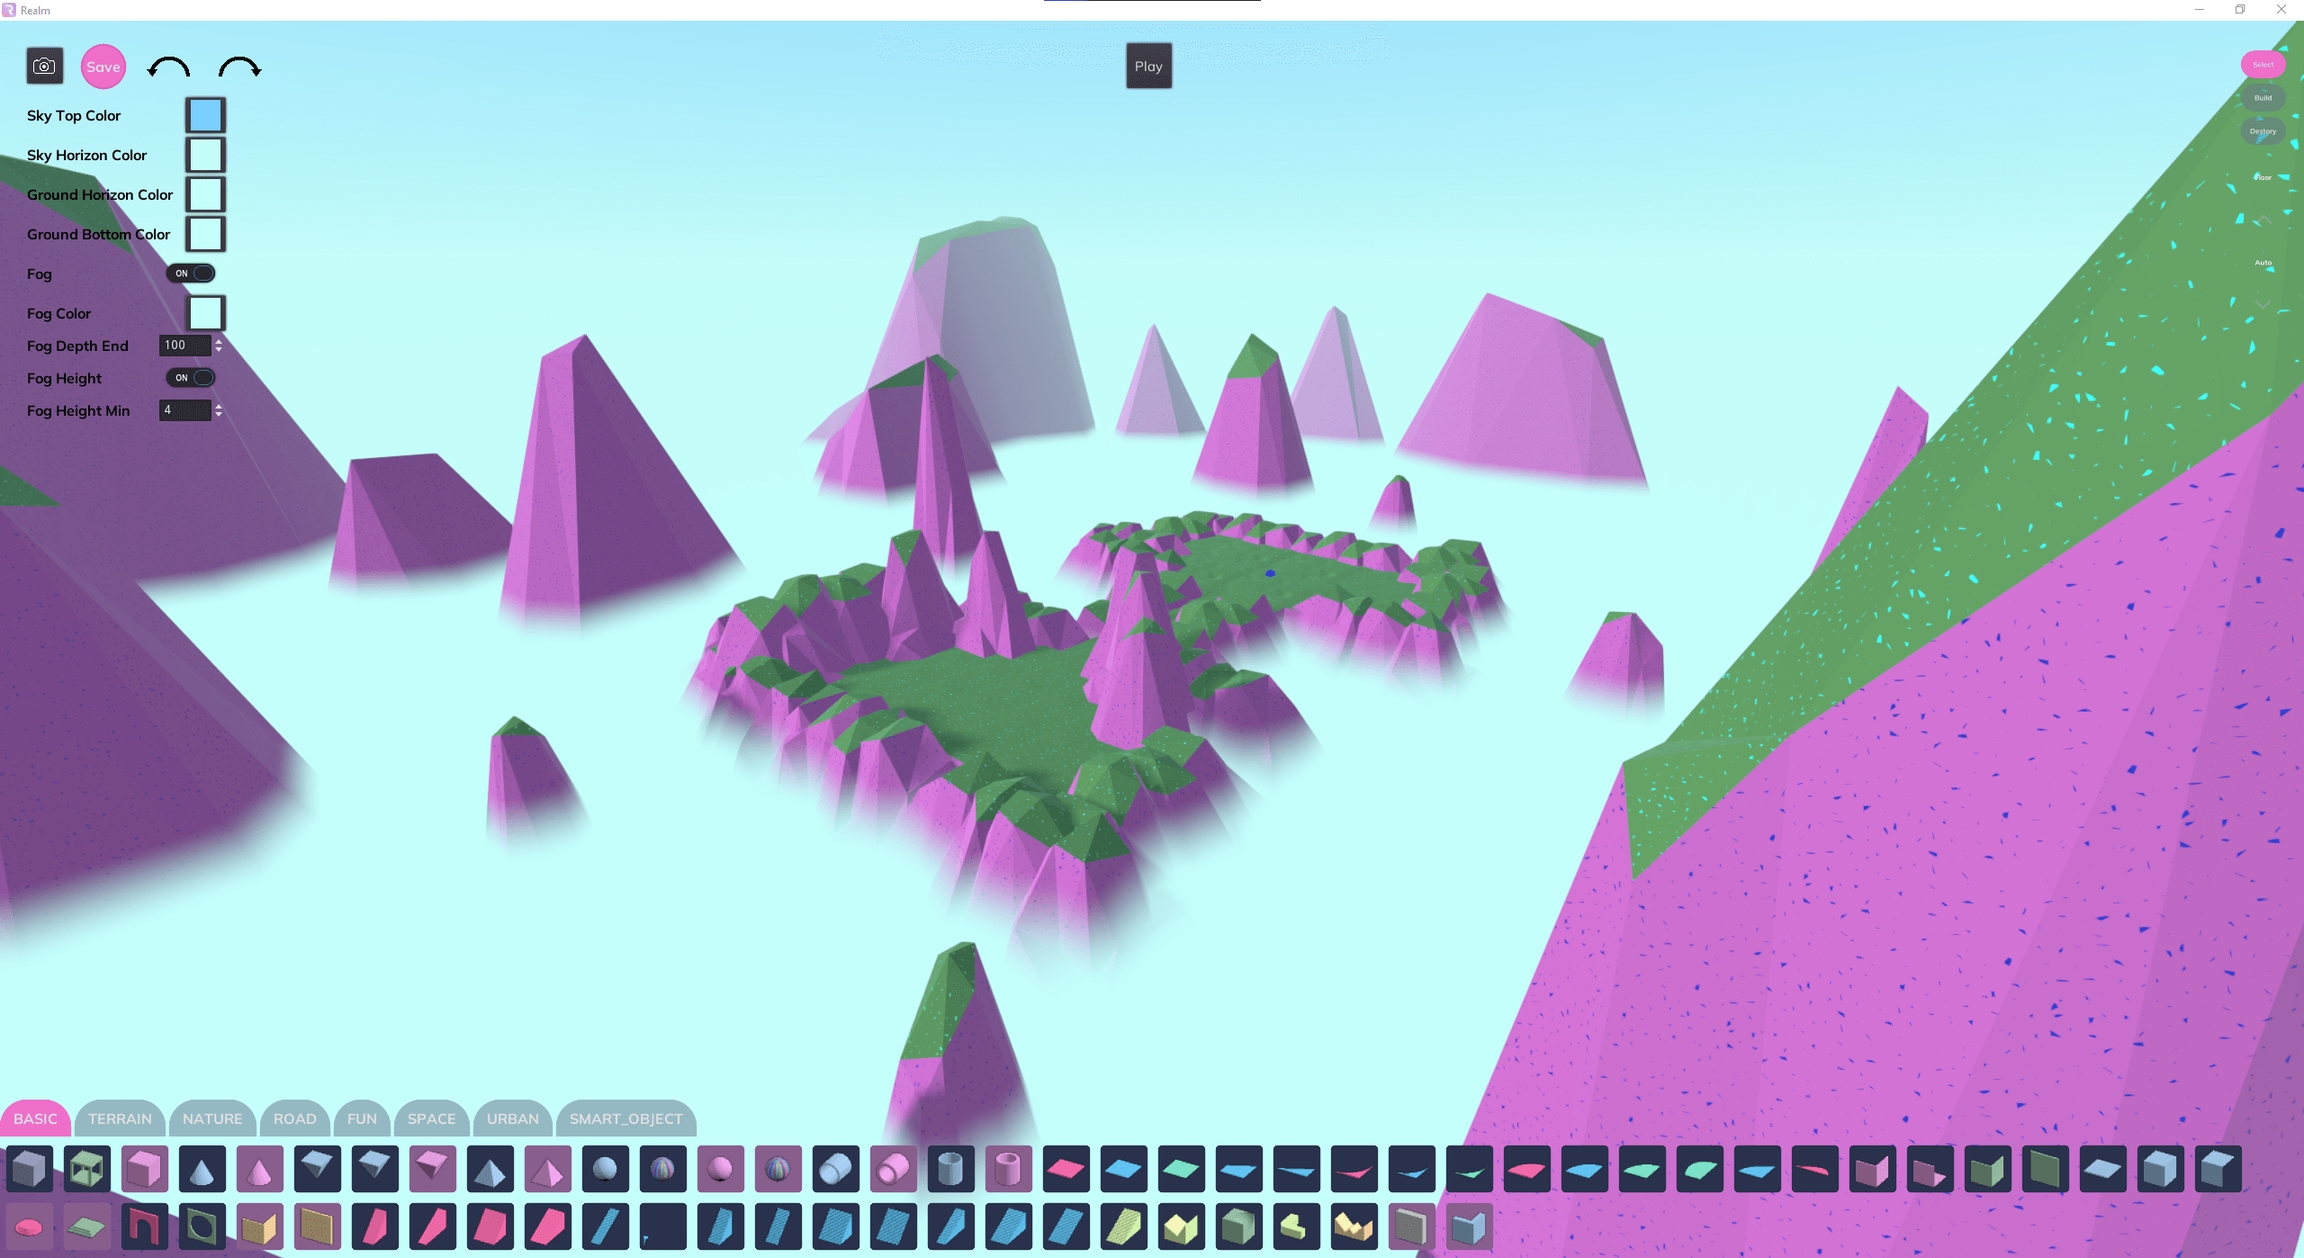
9. Environment Settings - Ground
Change the environment settings by clicking on the any of the coloured squares for example the
Ground Bottom Color.A colour picker window will appear where you can choose any colour on the spectrum
10. Fog
Colour matching
Fog Color,Ground Bottom Color,Ground Horizon ColorandSky Horizon Coloris an environment setup to quickly create a convincing lanscape.Adjust the
Fog Heightby clicking on the ip/down arrows for the fog variable or click onto the number and scroll up/down.
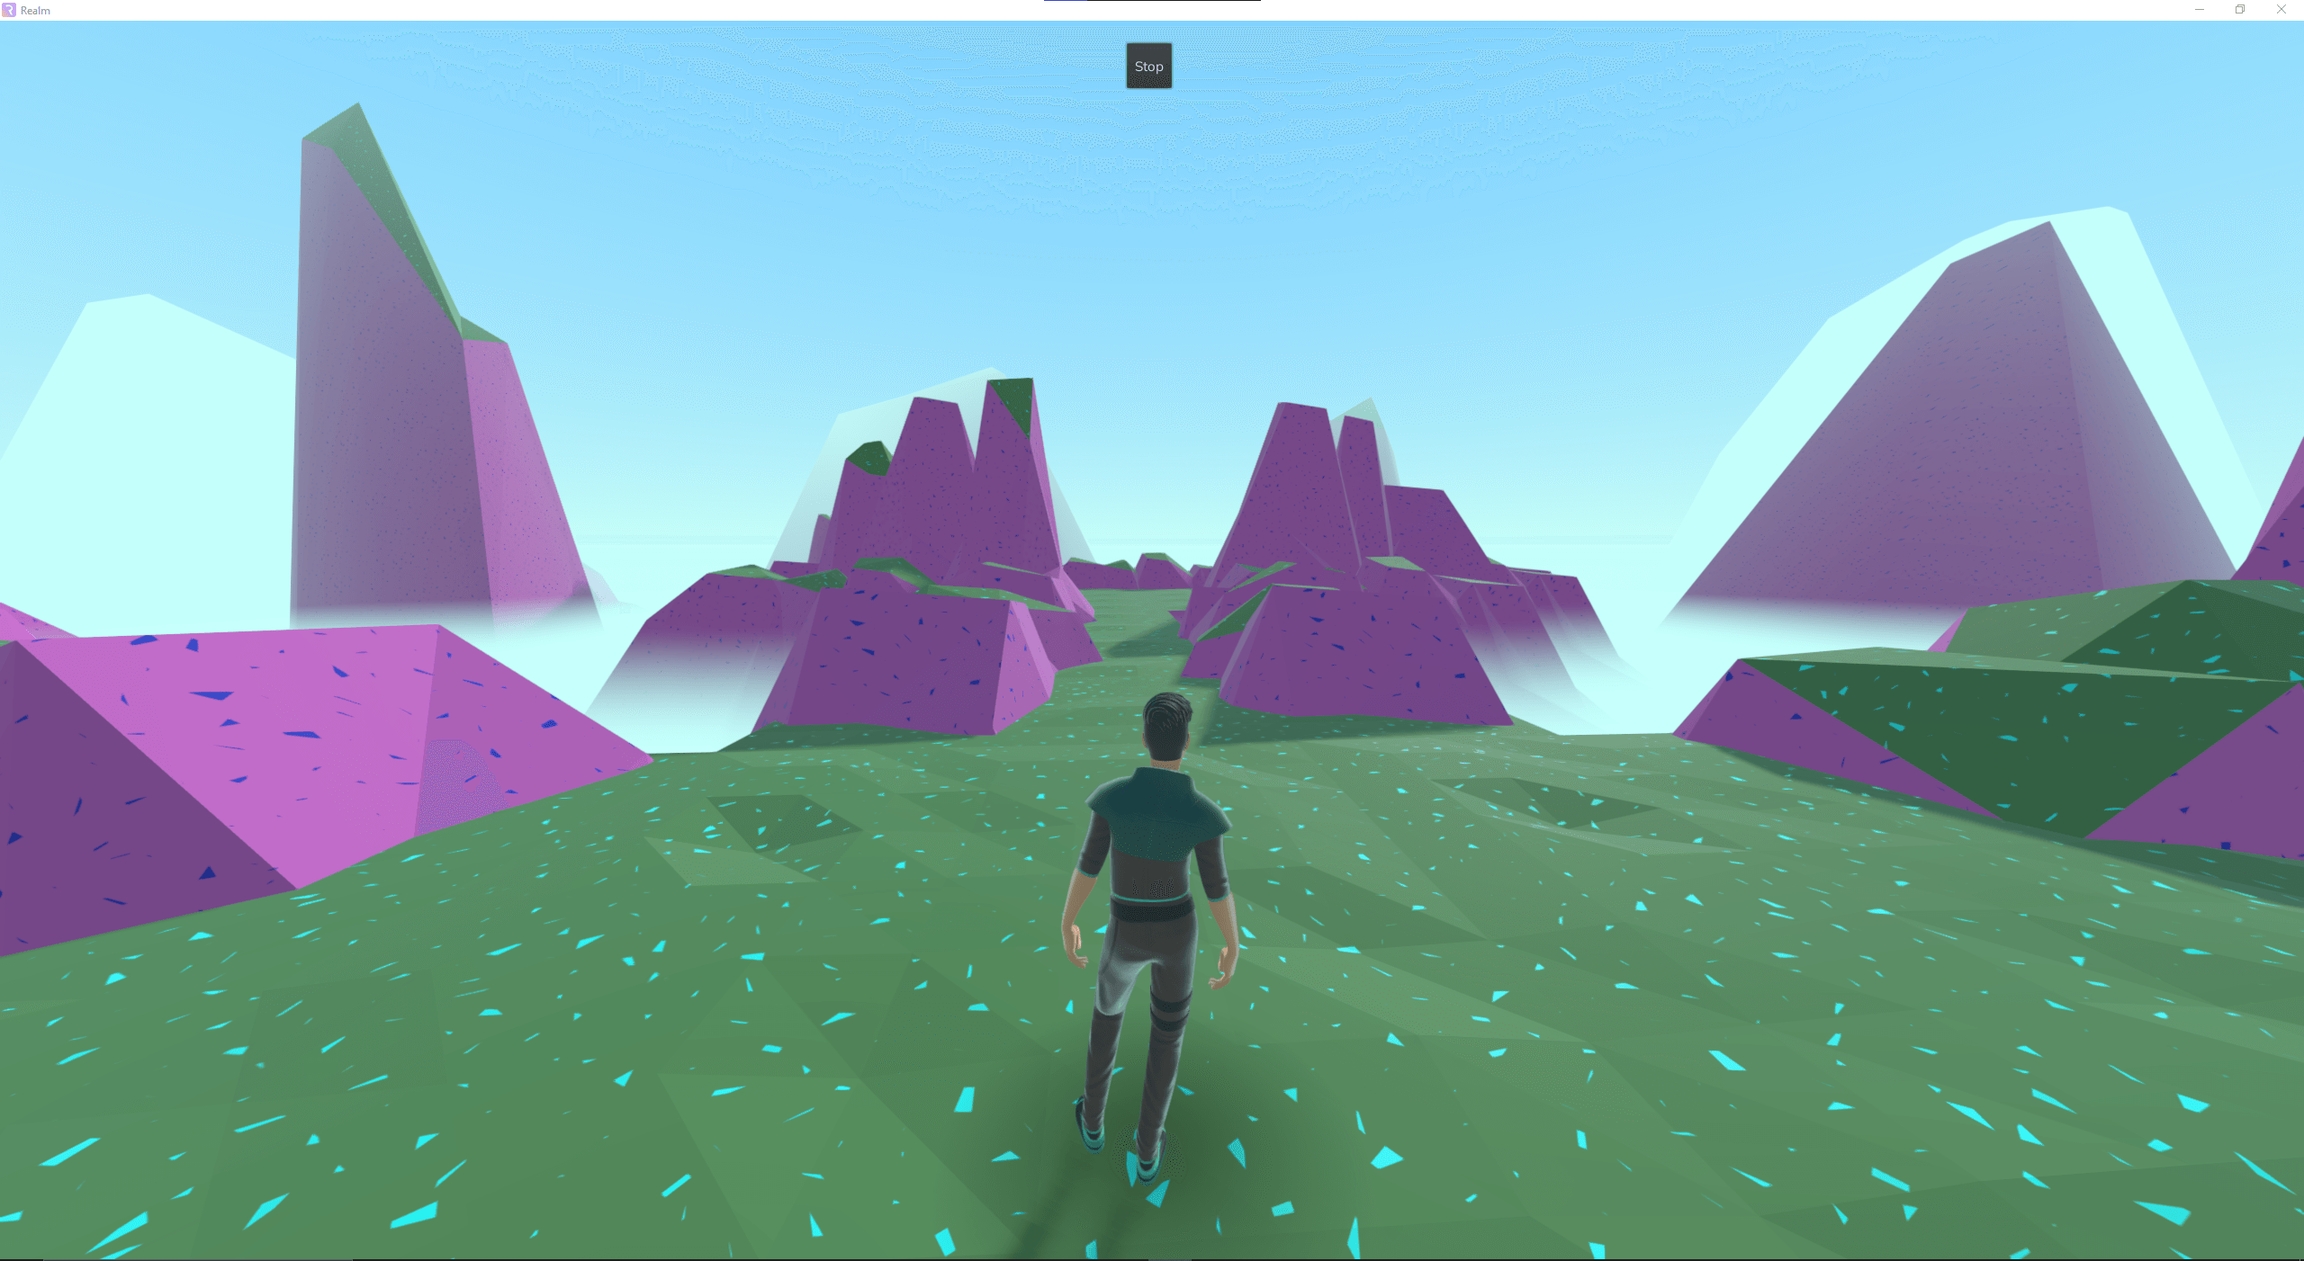
11. Play
Make sure you set your
Spawn PointSaveyour build.Press
Play.Look around by moving your mouse.
Move forward/left/backwards/right using the
W/A/S/Drespectively.Press
Escto show/hide the mouse cursor.Press
Stopto return to theEditmode.
12. Upload Preview
When you are happy with the design of your realm you can upload a preview image by pressing
Upload Previewwhilst in edit mode.The easiest way to find an interesting camera angle is to switch to free-flying camera mode which can be activated by pressing the camera icon in the top-left corner. Once activated you navigate similar to
Playmode using theWASDkeys.
13. Publish
Back in the main builder menu you can click on the
Draftbutton to switch to public mode so that any community member can come and visit your realm.
That's pretty much all you need to know to get started. For more detailed information about the user interface, smart modules and the inner workings of the Builder Tool continue reading the wiki. But more importantly, start building fantastic worlds.
Troubleshooting (alpha)
If you encounter crashes especially if they consistently occur after performing a particular action please feel free to send us your crash log. It will help us to identify the issue to improve the Builder Tool. Logs can be found in the following location on your computer:
PC:
%APPDATA%\Godot\app_userdata\Realm\logs
Mac:
/Library/Application Support/Godot/app_userdata/Realm
In addition please send a brief description of the encountered crash to support@realm.art
Please include:
Date | UserName | Observation | Steps to recreate | Device+OS
Thank you!
Last updated